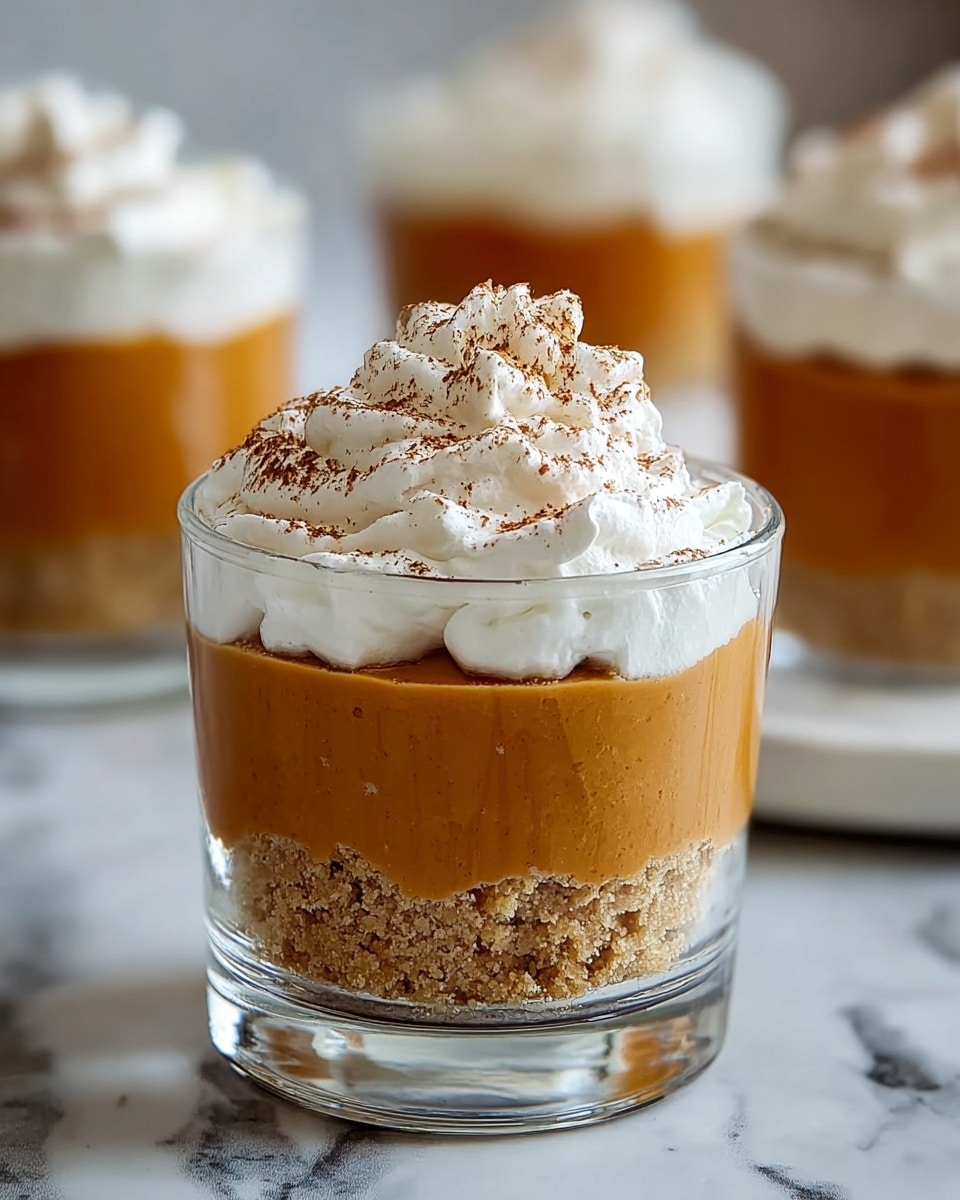
If you’re searching for a fun, festive, and utterly delightful dessert to bring to your next holiday gathering, the No-Bake Mini Pumpkin Pie Cups Recipe is your new best friend. These charming little treats capture all the cozy flavors of pumpkin pie without any oven time, making them super kid-friendly and simple to whip up in just minutes. With creamy pumpkin filling nestled on a crunchy graham cracker crust and topped with fluffy whipped goodness, these mini cups are perfect for spreading seasonal cheer at Thanksgiving or any autumn celebration.
Ingredients You’ll Need
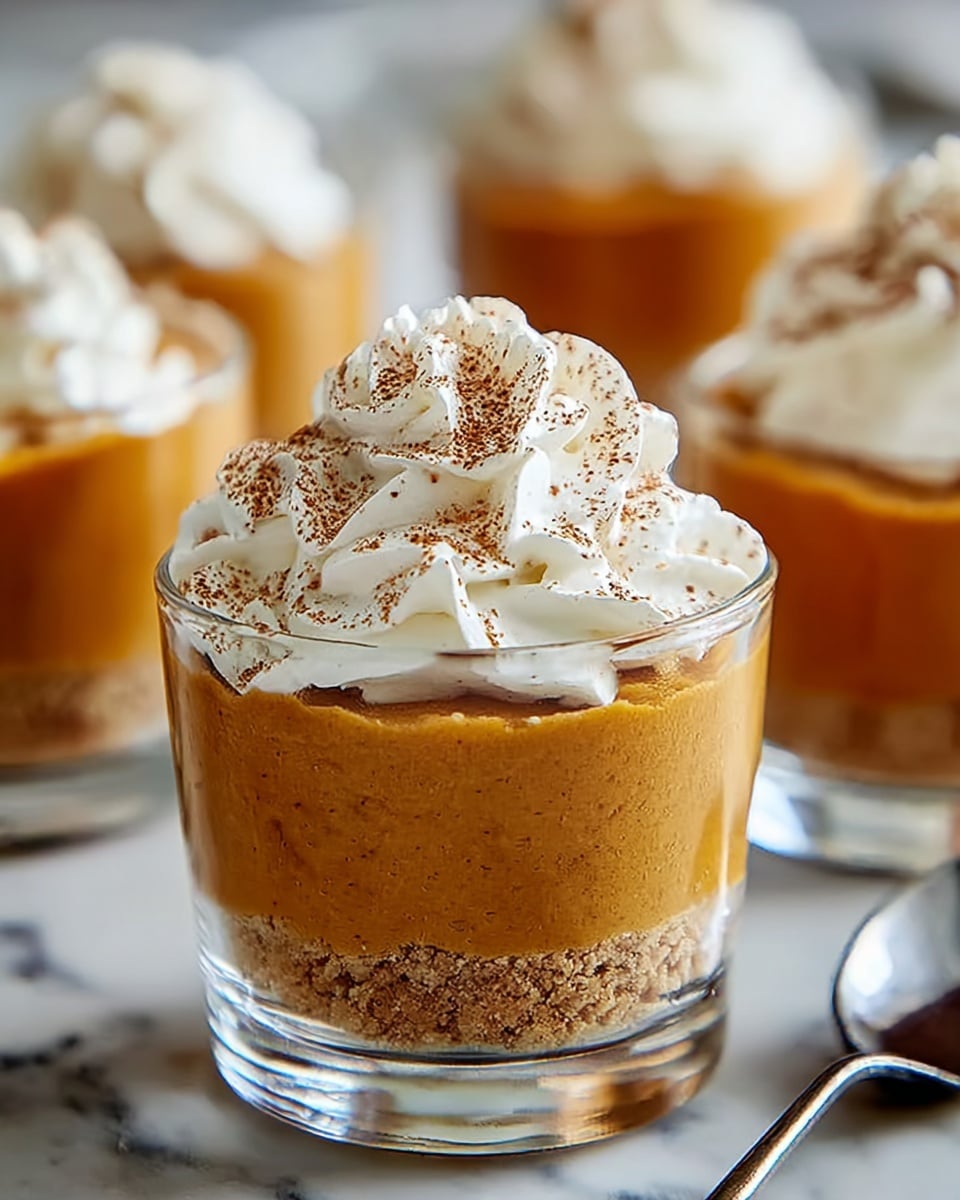
Each ingredient in this recipe plays a starring role in creating the perfect balance of flavor, texture, and color. The simplicity of the components makes this No-Bake Mini Pumpkin Pie Cups Recipe easy to assemble but wonderfully satisfying in taste.
- Pumpkin puree (15 oz can): Provides the rich and earthy pumpkin flavor essential to any pumpkin pie-inspired treat.
- Instant vanilla pudding mix (3.4 oz package): Adds a smooth, sweet base that sets quickly without heat.
- Cold milk (1½ cups): Essential for mixing with the pudding to create that perfect creamy texture.
- Pumpkin pie spice (1 tsp): Brings in warm notes of cinnamon, nutmeg, and clove, creating that unmistakable fall aroma.
- Cinnamon (½ tsp): Enhances the spice profile with a lovely hint of warmth.
- Whipped topping (8 oz, like Cool Whip): Lightens the pumpkin mixture, offering a mousse-like fluffiness that’s irresistible.
- Graham cracker crumbs: Form a crunchy, buttery crust that perfectly complements the creamy filling.
- Mini plastic cups or dessert containers: These make serving a breeze and add a playful touch for gatherings.
- Optional toppings: Crushed gingersnaps, whipped cream, mini marshmallows, fall-themed sprinkles, candy corn, or cinnamon sticks to customize each mini cup to your liking.
How to Make No-Bake Mini Pumpkin Pie Cups Recipe
Step 1: Mix the Pudding
Begin by whisking the instant vanilla pudding mix with cold milk in a mixing bowl. Stir until you achieve a smooth consistency, then let the mixture rest for about 2 minutes. This brief wait allows it to thicken slightly, setting the stage for a creamy filling.
Step 2: Add Pumpkin and Spices
Gently fold the pumpkin puree, pumpkin pie spice, and cinnamon into the thickened pudding base. This combination infuses the mixture with that classic pumpkin pie flavor, creating a smooth, well-spiced filling that’s bursting with seasonal goodness.
Step 3: Fold in Whipped Topping
For that light and fluffy texture that makes these cups so delightful, fold in half of the whipped topping. Be gentle to maintain the airy consistency, transforming the mixture into a luscious mousse that simply melts in your mouth.
Step 4: Assemble the Mini Cups
Spoon about 2 tablespoons of graham cracker crumbs into the bottom of each mini cup, creating a crunchy base. Add a layer of the pumpkin mixture over the crumbs. If you’re feeling fancy, you can repeat these layers to build taller, more visually appealing cups.
Step 5: Decorate and Chill
Top each cup with the remaining whipped topping along with any optional decorations like crushed gingersnaps, mini marshmallows, or colorful sprinkles. Chill the cups in the refrigerator for at least 30 minutes to let the flavors meld and the texture set, or serve them immediately for a fresh, creamy bite.
How to Serve No-Bake Mini Pumpkin Pie Cups Recipe
Garnishes
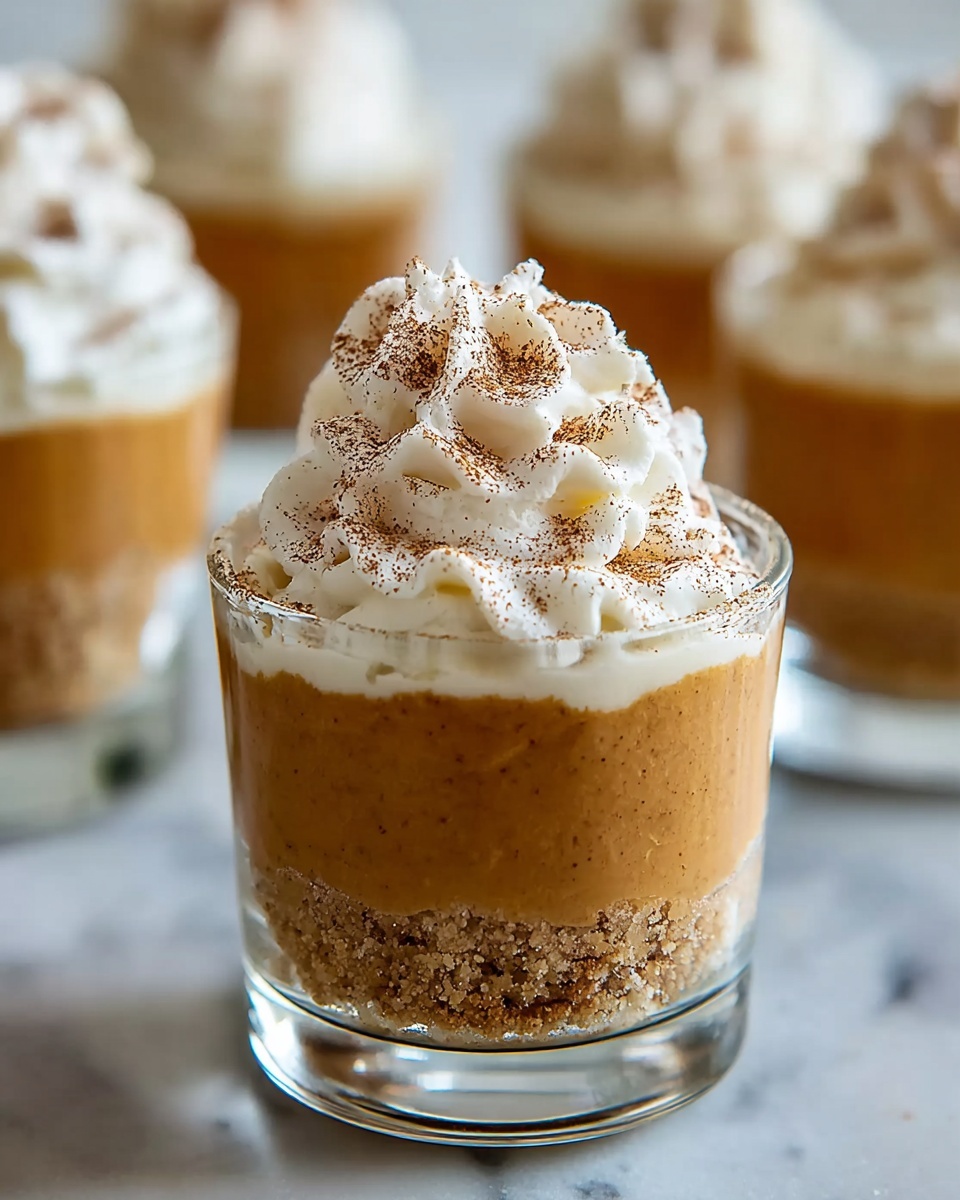
Adding garnishes elevates these mini pumpkin pies from simple to spectacular. Try sprinkling crushed gingersnaps or cinnamon on top, or nestle a cinnamon stick in each cup for a cozy touch. Whipped cream swirls or festive fall-themed sprinkles can really brighten the look and make them irresistible on any table.
Side Dishes
These mini pumpkin pie cups pair wonderfully with light, crisp salads or a cup of warm apple cider. Their sweet and creamy nature contrasts perfectly with more savory or tart flavors, making them a fantastic finishing touch to a well-rounded fall meal.
Creative Ways to Present
For holiday parties or classroom activities, serve the cups in clear plastic containers with personalized name tags or little decorative stickers. You could also line them up on a festive tray with fall leaves or mini pumpkins for a charming centerpiece that guests will adore.
Make Ahead and Storage
Storing Leftovers
These No-Bake Mini Pumpkin Pie Cups keep beautifully in the fridge for up to 3 days. Just cover them with plastic wrap or secure lids to maintain freshness and prevent any flavors from mingling undesirably with other foods.
Freezing
While these treats are best enjoyed fresh, freezing is not recommended as the texture of the whipped topping and pudding may change upon thawing. For best results, prepare them fresh or a day in advance.
Reheating
No reheating needed here! These mini pies are meant to be enjoyed chilled or at room temperature. Just take them out from the fridge a few minutes before serving if you prefer a less cold dessert.
FAQs
Can I make these cups dairy-free?
Absolutely! Swap regular milk for your favorite plant-based milk and choose a dairy-free whipped topping to keep the dessert just as creamy and delicious.
Is it necessary to use instant pudding mix?
Instant pudding mix helps set the filling quickly and adds sweetness, but you can experiment with homemade custard or pudding if you prefer a from-scratch approach.
Can kids help make this recipe?
Yes, this is a perfect no-bake recipe for kids to get involved with since there’s no oven or stovetop use. Mixing and layering make it a fun and safe activity for little hands.
How can I make these cups more festive for a party?
Use themed sprinkles, edible glitter, or add small seasonal candies like candy corn on top. Serving in decorative cups or with fun stirring sticks also adds charm.
Are these cups suitable for holiday meal prep?
Definitely. You can prepare these up to one day in advance, making them a convenient and crowd-pleasing dessert option for holiday meals or potlucks.
Final Thoughts
If you want a quick, no-fuss dessert that brings both tradition and fun to your autumn celebrations, the No-Bake Mini Pumpkin Pie Cups Recipe is a shining star. It’s a crowd-pleaser that delights kids and adults alike, and the ease of assembly means you can spend less time in the kitchen and more time enjoying the season. So grab your ingredients, get creative with toppings, and make these mini pumpkin pies your new holiday favorite!
Print
No-Bake Mini Pumpkin Pie Cups Recipe
- Total Time: 15 minutes
- Yield: 10 mini cups
- Diet: Vegetarian
Description
No-Bake Mini Pumpkin Pie Cups are a delightful and easy Thanksgiving dessert perfect for all ages. These festive treats combine creamy pumpkin mousse made from pumpkin puree, instant vanilla pudding, and whipped topping layered over graham cracker crumbs for a delicious no-bake alternative to traditional pumpkin pie. Ideal for family gatherings, preschool cooking projects, or quick holiday fun, these mini cups offer customizable toppings and require minimal prep time.
Ingredients
Main Ingredients:
- 1 (15 oz) can pumpkin puree (not pumpkin pie filling)
- 1 (3.4 oz) package instant vanilla pudding mix
- 1½ cups cold milk
- 1 tsp pumpkin pie spice
- ½ tsp cinnamon
- 8 oz whipped topping (like Cool Whip)
- Graham cracker crumbs (or pre-crushed pie crust pieces)
- Mini plastic cups or dessert containers
Optional Toppings:
- Crushed gingersnaps
- Whipped cream
- Mini marshmallows
- Fall-themed sprinkles
- Candy corn
- Cinnamon sticks for garnish
Instructions
- Mix the Pudding: In a medium bowl, whisk together the instant vanilla pudding mix and cold milk until smooth. Allow the mixture to sit for about 2 minutes to thicken slightly.
- Add Pumpkin and Spices: Fold in the pumpkin puree, pumpkin pie spice, and cinnamon gently until the ingredients are fully combined to create a smooth, spiced mixture.
- Fold in Whipped Topping: Carefully fold in half of the whipped topping to the pumpkin mixture to achieve a creamy, mousse-like texture without deflating the whipped topping.
- Assemble Cups: Spoon approximately 2 tablespoons of graham cracker crumbs into the bottom of each mini plastic cup. Add a layer of the pumpkin mixture on top. Repeat layering if desired to create alternating layers of crust crumbs and pumpkin mousse.
- Decorate and Chill: Top each cup with the remaining whipped topping and decorate with your choice of crushed gingersnaps, candy corn, fall-themed sprinkles, mini marshmallows, or cinnamon sticks. Chill the assembled cups in the refrigerator for at least 30 minutes before serving, or enjoy immediately if preferred.
Notes
- Kid-friendly: No oven required, making it safe and easy for preschoolers to help with.
- Allergy-friendly: Substitute dairy-free milk and gluten-free cookies as needed for dietary restrictions.
- Prep-ahead: These mini pumpkin pie cups can be prepared up to one day in advance. Add toppings just before serving.
- Storage: Keep refrigerated for up to 3 days. Not recommended to freeze as texture may be affected.
- Fun idea: Use the mini cups as craft projects by adding name tags or holiday decorations for classroom activities.
- Prep Time: 10 minutes
- Cook Time: 0 minutes
- Category: Dessert
- Method: No-Cook
- Cuisine: American


