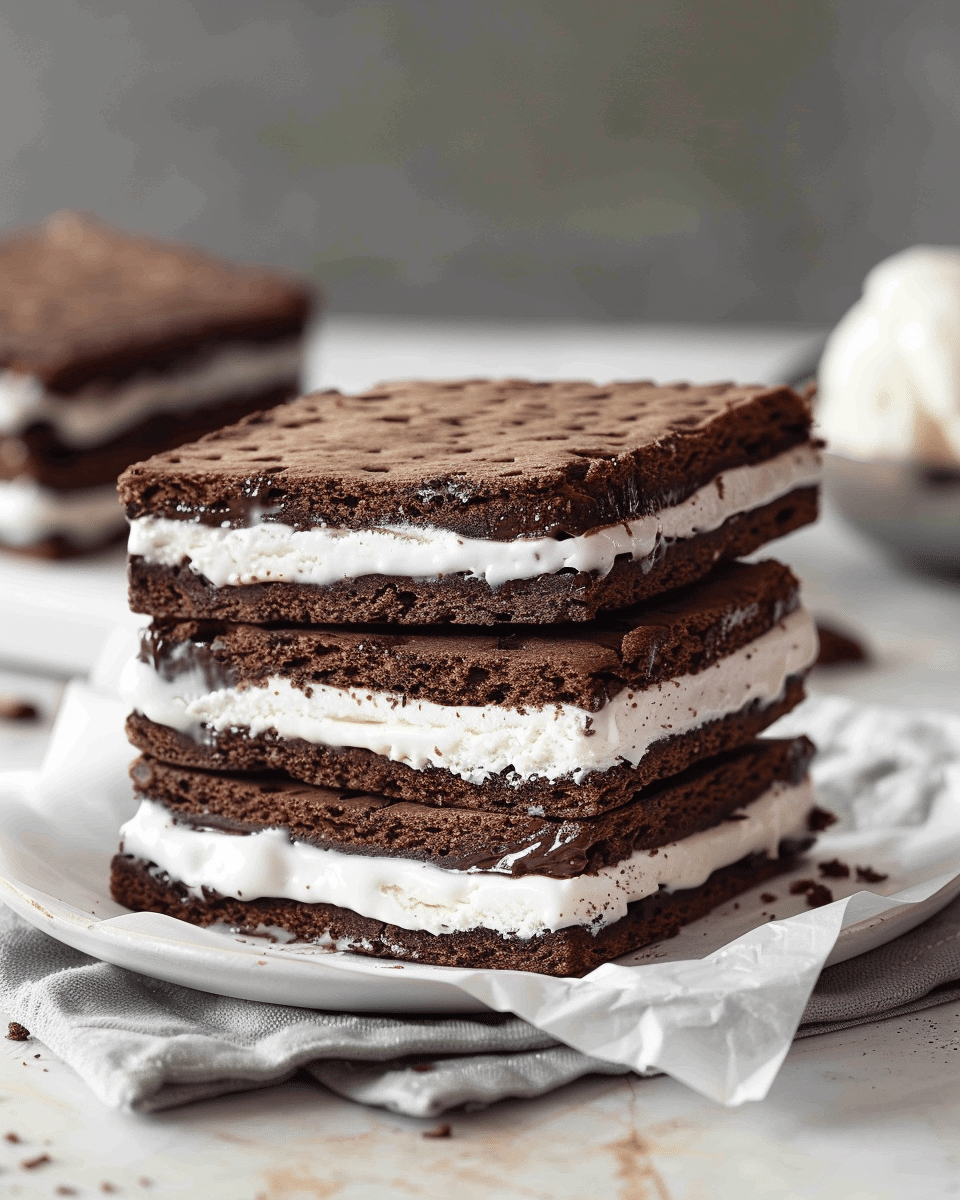
Why Ice Cream Sandwiches?
There’s something magical about the combination of ice cream and cookies. The cold, creamy ice cream contrasts beautifully with the soft, chewy cookies, creating a texture and flavor balance that’s irresistible. Plus, they’re incredibly versatile—you can switch up the type of cookies and ice cream to suit your taste or dietary preferences.
Ingredients You’ll Need
For the Cookies:
- 1 cup unsalted butter, softened
- 1 cup brown sugar, packed
- 1/2 cup granulated sugar
- 2 large eggs
- 1 teaspoon vanilla extract
- 2 1/2 cups all-purpose flour
- 1 teaspoon baking soda
- 1/2 teaspoon salt
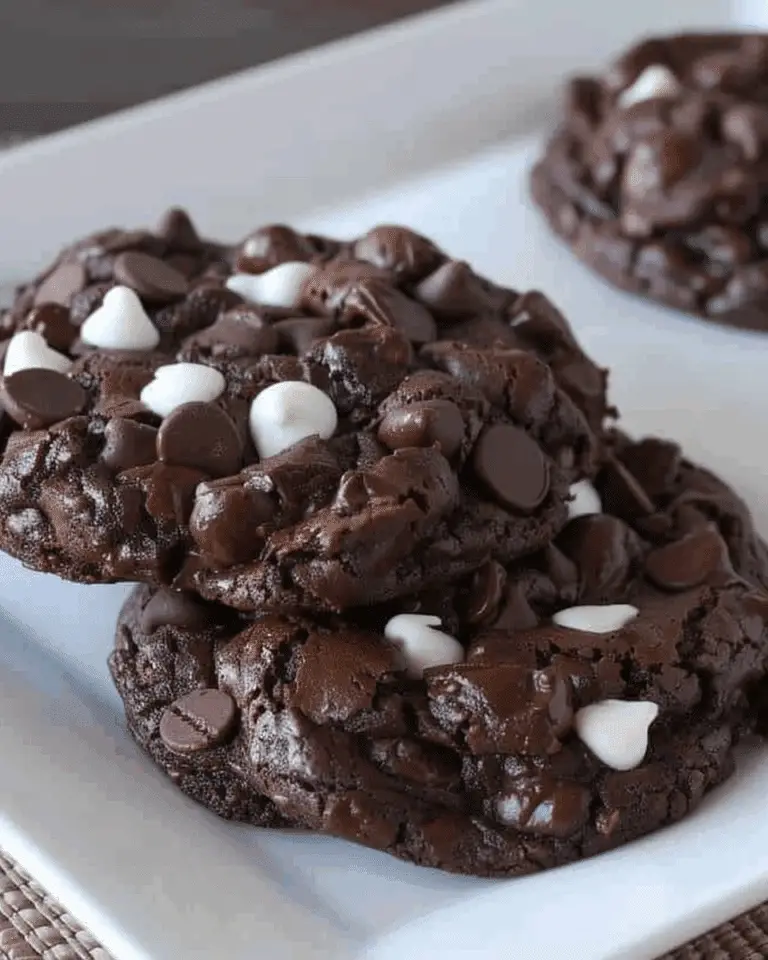
- 2 cups chocolate chips (or your favorite mix-ins, like nuts, M&Ms, or toffee)
For the Ice Cream:
- 1 quart of your favorite ice cream (vanilla, chocolate, mint chocolate chip, or anything else you like)
For Garnish (optional):
- Sprinkles
- Mini chocolate chips
- Crushed nuts
- Shredded coconut
Instructions
Step 1: Bake the Cookies
- Preheat the oven: Preheat your oven to 350°F (175°C) and line two baking sheets with parchment paper.
- Mix the wet ingredients: In a large bowl, cream together the butter, brown sugar, and granulated sugar until light and fluffy. Beat in the eggs and vanilla extract until fully combined.
- Add the dry ingredients: In a separate bowl, whisk together the flour, baking soda, and salt. Gradually add the dry ingredients to the wet mixture, mixing until just combined.
- Fold in the chocolate chips: Stir in the chocolate chips (or your chosen mix-ins).
- Scoop and bake: Use a tablespoon or cookie scoop to drop dough onto the prepared baking sheets. Leave space between each cookie, as they will spread a bit. Bake for 10-12 minutes, or until the edges are golden brown and the centers are set.
- Cool the cookies: Let the cookies cool on the baking sheets for a few minutes before transferring them to a wire rack to cool completely.
Step 2: Assemble the Ice Cream Sandwiches
- Soften the ice cream: Let the ice cream sit at room temperature for 5-10 minutes to soften slightly, making it easier to scoop and spread.
- Pair up the cookies: Once the cookies are completely cooled, pair them up based on size and shape. You want two cookies of similar size for each sandwich.
- Assemble the sandwiches: Scoop a generous amount of ice cream onto the flat side of one cookie. Top with the second cookie, pressing down gently to sandwich the ice cream between them. If you’re making multiple sandwiches, you can place the ice cream between all the cookies before moving on to the next step.
- Roll the edges (optional): For extra flair, roll the edges of the ice cream sandwich in sprinkles, mini chocolate chips, crushed nuts, or any other fun topping you like.
- Freeze: Place the completed ice cream sandwiches on a tray and freeze them for at least 30 minutes to set the ice cream. This will help keep the ice cream from spilling out when you bite into the sandwich.
Step 3: Serve and Enjoy
Once the ice cream sandwiches are set, they’re ready to serve! You can keep them in the freezer for later enjoyment or dig right in. Serve them at a party, a summer BBQ, or just as a sweet treat after dinner.
Tips for Perfect Ice Cream Sandwiches
- Use thick cookies: Thicker cookies hold up better when you press the ice cream between them. If your cookies are too thin, the ice cream might spill out when you take a bite.
- Custom flavors: Experiment with different ice cream flavors and cookie types. For example, use chocolate chip cookies with mint chocolate chip ice cream, or snickerdoodle cookies with cinnamon ice cream.
- Keep them frozen: If you’re making a large batch, keep the sandwiches frozen until you’re ready to serve. This prevents the ice cream from melting and ensures they hold their shape.
- No mess: If you want to avoid a mess when eating, wrap each sandwich in wax paper or plastic wrap before freezing. This will help keep things neat and portable.
Variations of Ice Cream Sandwiches
- Waffle Cone Sandwiches: Swap out the cookies for waffles or waffle cones for a crunchy twist.
- Brownie Ice Cream Sandwiches: Use brownies instead of cookies for a richer, fudgier base.
- Healthier Versions: Use whole-grain cookies, dairy-free ice cream, or even banana slices as a base for a lighter take on this classic treat.
Conclusion
Ice cream sandwiches are the ultimate dessert for satisfying sweet tooth cravings. With a wide variety of cookie and ice cream combinations to choose from, you can customize your sandwiches to fit any mood, party theme, or dietary need. Whether you’re making them from scratch or just looking for an easy way to enjoy this childhood favorite, ice cream sandwiches are guaranteed to be a hit. So, grab your favorite ingredients and treat yourself to this cool, creamy, and completely delicious dessert!
Ice Cream Sandwiches: A Cool and Classic Treat
- Total Time: 6 hours (includes chilling time)
- Yield: 8 servings
- Diet: Vegetarian
Description
This rich and creamy Ninja Foodi S’mores Cheesecake combines the classic flavors of s’mores with the decadence of a cheesecake, featuring a graham cracker crust, chocolate filling, and toasted marshmallow topping.
Ingredients
- 1 1/2 cups graham cracker crumbs
- 1/4 cup granulated sugar
- 6 tbsp melted butter
- 16 oz cream cheese, softened
- 1/2 cup granulated sugar
- 2 large eggs
- 1/2 cup sour cream
- 1 tsp vanilla extract
- 1/2 cup semi-sweet chocolate chips, melted
- 1/2 cup mini marshmallows
- 1/4 cup chocolate chips (for topping)
- Extra mini marshmallows (for topping)
Instructions
In a medium bowl, mix graham cracker crumbs, 1/4 cup sugar, and melted butter. Press into the bottom of a greased 7-inch springform pan to form the crust.
- Place the crust in the freezer while preparing the filling.
- In a large bowl, beat cream cheese and 1/2 cup sugar until smooth.
- Add eggs one at a time, mixing well after each addition.
- Mix in sour cream and vanilla extract until combined.
- Fold in melted chocolate chips until smooth and well incorporated.
- Pour the cheesecake mixture into the crust and smooth the top.
- Add 1 cup of water to the Ninja Foodi pot and place the cheesecake on the trivet inside.
- Seal the lid and cook on “Pressure Cook” for 30 minutes, then let the pressure release naturally for 10 minutes before quick releasing the rest.
- Remove the cheesecake and let it cool at room temperature, then refrigerate for at least 4 hours or overnight.
- Top the chilled cheesecake with mini marshmallows and chocolate chips, then use a kitchen torch to toast the marshmallows or place under the broiler for 1–2 minutes until golden.
- Slice and serve chilled or slightly warmed for a gooey effect.
Notes
- You can use store-bought graham cracker crust, but homemade adds more flavor.
- Let cream cheese come to room temperature for a smoother filling.
- Use a foil sling or silicone sling to easily remove the cheesecake from the Ninja Foodi.
- For a richer flavor, use dark chocolate instead of semi-sweet.
- Prep Time: 20 minutes
- Cook Time: 30 minutes
- Category: Dessert
- Method: Pressure Cook
- Cuisine: American
Nutrition
- Serving Size: 1 slice
- Calories: 420
- Sugar: 26g
- Sodium: 240mg
- Fat: 29g
- Saturated Fat: 16g
- Unsaturated Fat: 11g
- Trans Fat: 0g
- Carbohydrates: 33g
- Fiber: 1g
- Protein: 6g
- Cholesterol: 90mg


