If you’ve ever craved a cookie that’s delightfully light, wonderfully crisp, and bursting with gentle vanilla flavor, this Vanilla Wafers Recipe is your new obsession. These little golden beauties come together quickly and easily, filling your kitchen with an irresistible aroma that promises comfort in every bite. Perfect for snacking, pairing with tea, or using in your favorite desserts, this classic treat combines simple ingredients into a taste that feels both nostalgic and freshly homemade.
Ingredients You’ll Need
The magic of this Vanilla Wafers Recipe lies in a handful of straightforward, pantry-friendly ingredients. Each one plays an essential role: butter gives richness and tenderness, sugar adds sweetness and helps create that delicate crispness, and vanilla extract literally infuses the cookies with their charming character.
- 1/2 cup butter, softened: Brings creamy richness and helps the wafers crisp up beautifully.
- 1 cup sugar: Sweetens perfectly and aids in achieving the golden edges.
- 1 egg: Binds the ingredients and adds a subtle lift.
- 1 tablespoon vanilla extract: The soul of the cookie, delivering that signature vanilla aroma and flavor.
- 1-1/3 cups all-purpose flour: The structure of the wafer, giving a tender crumb that holds together crispness.
- 3/4 teaspoon baking powder: Provides a gentle rise so the wafers aren’t too dense.
- 1/4 teaspoon salt: Balances sweetness and enhances the vanilla flavor.
How to Make Vanilla Wafers Recipe
Step 1: Cream Butter and Sugar
Start with softened butter and sugar in a large bowl. Beat them together until the mixture is light and fluffy—this usually takes a few minutes. This step is crucial, as it incorporates air that makes the wafers tender yet crisp. Once fluffy, add the egg and the vanilla extract and mix thoroughly to infuse that lovely aroma.
Step 2: Combine Dry Ingredients and Mix
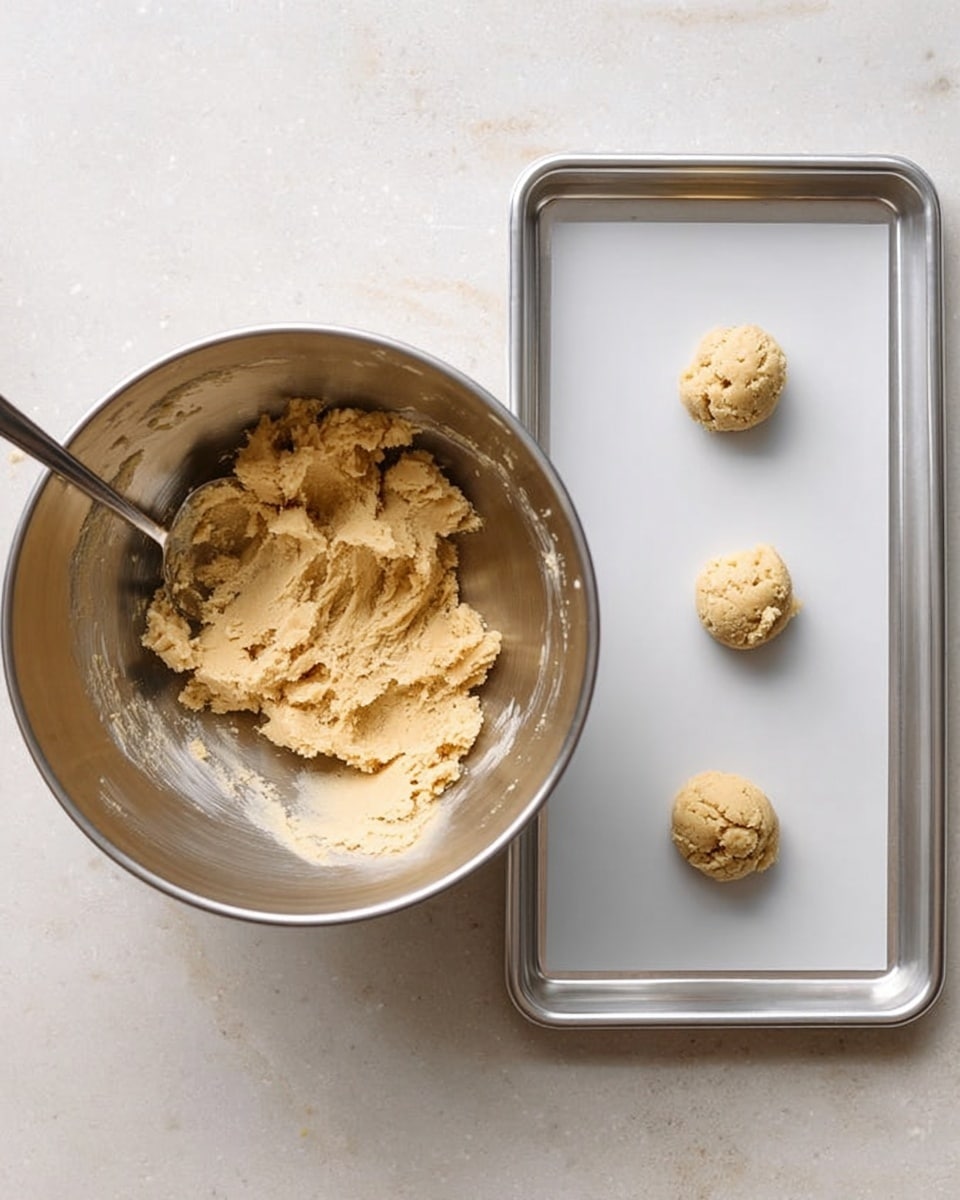
In a separate bowl, whisk together the flour, baking powder, and salt. Slowly add this dry mix to the creamed butter mixture, stirring gently but thoroughly. The dough should come together smoothly, just thick enough to hold its shape when dropped.
Step 3: Drop and Bake
Using a teaspoon, drop small mounds of dough about 2 inches apart onto ungreased baking sheets. This spacing allows for even baking and a perfect wafer shape. Bake them in a preheated 350°F oven for 12 to 15 minutes, or until the edges turn a beautiful golden brown. Be sure not to overbake — you want crisp edges with a slightly soft center that turns crisp as the cookies cool.
Step 4: Cool on Wire Racks
Once out of the oven, transfer the wafers carefully to wire racks. Cooling on a rack prevents moisture build-up, helping maintain that crisp texture everyone loves in a good vanilla wafer.
How to Serve Vanilla Wafers Recipe
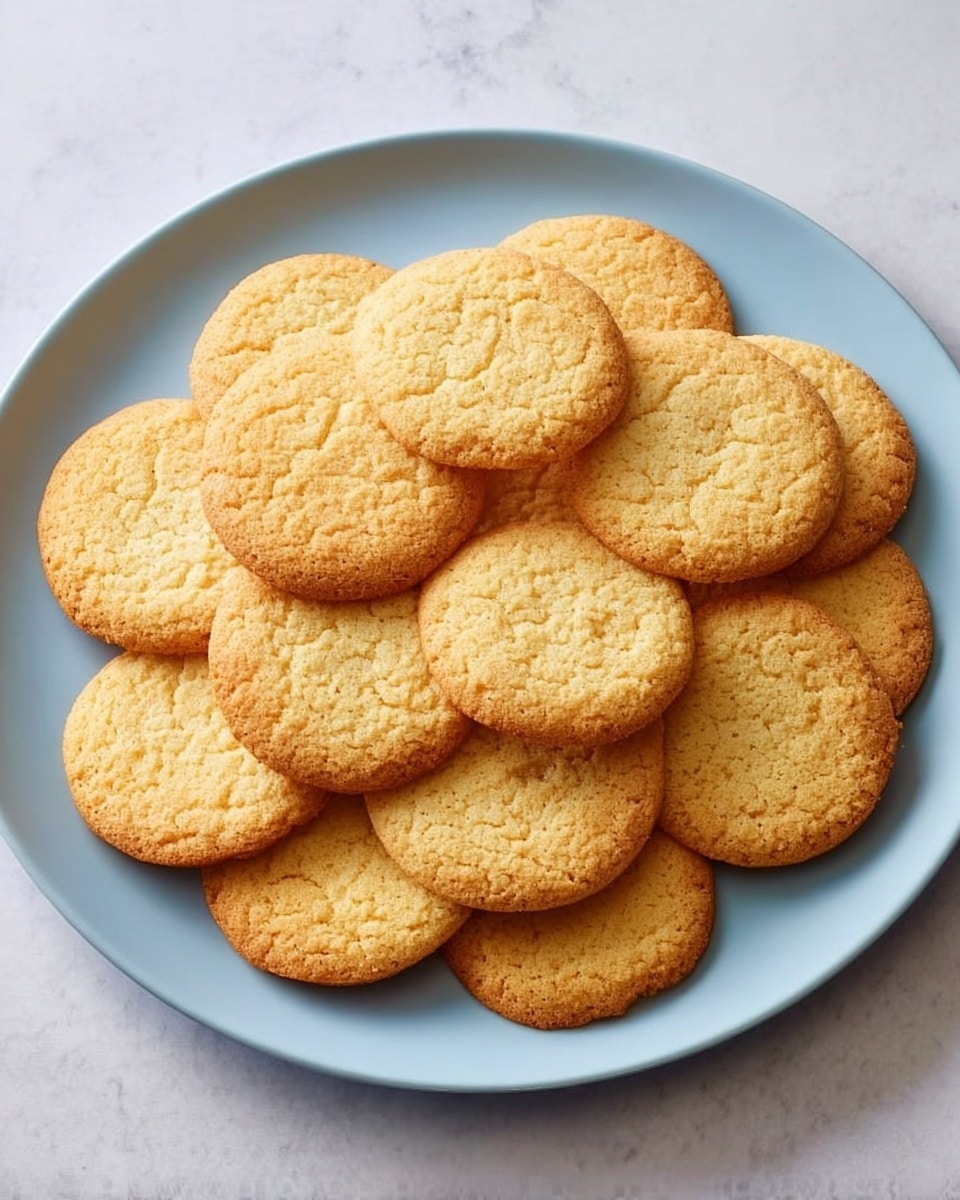
Garnishes
Vanilla wafers are lovely on their own, but a sprinkle of powdered sugar, a drizzle of melted chocolate, or a hint of cinnamon can elevate them beautifully. Adding a small fresh berry like a raspberry on the side can also add an eye-catching pop of color and a contrast in flavor that pairs wonderfully.
Side Dishes
These wafers make fabulous companions to ice cream or pudding, especially banana pudding, in which classic vanilla wafers shine. They also go surprisingly well with creamy dips or a berry compote for a light dessert or snack spread.
Creative Ways to Present
Think beyond the cookie jar and use these vanilla wafers as a base for mini desserts—like tiny cheesecakes or layered parfaits. Stacking them with whipped cream and fresh fruit makes an elegant dessert cup perfect for entertaining or simply treating yourself with a bit of style.
Make Ahead and Storage
Storing Leftovers
Store your leftover vanilla wafers in an airtight container at room temperature for up to one week. This keeps them crisp and ready for snacking or using in recipes without losing their delightful crunch.
Freezing
You can freeze these wafers for longer storage. Place them in a single layer on a baking sheet, freeze until solid, then transfer to a sealed freezer bag. They’ll keep well for up to 3 months. When ready to enjoy, let them thaw at room temperature in their container to preserve texture.
Reheating
If the wafers lose their crispness over time, a quick reheat in a 300°F oven for about 5 minutes will revive their lovely crunch and warm up those comforting vanilla notes.
FAQs
Can I substitute the butter with margarine or oil in this Vanilla Wafers Recipe?
While you can substitute margarine, it may affect the flavor and texture slightly. Oil isn’t recommended because it lacks the creaminess that butter provides, which helps create the wafer’s delicate crumb and crisp edges.
What if I don’t have baking powder? Can I skip it?
Baking powder adds just a touch of lift, but if you don’t have it, the wafers will be a bit denser but still tasty. To mimic the effect, you can add a pinch of baking soda and a small amount of acid like lemon juice or vinegar, but stick to small quantities to avoid affecting flavor.
Why do the wafers sometimes turn out soft instead of crisp?
Undercooking or not cooling the wafers on a wire rack can cause them to be soft. Ensure you bake until edges are golden and transfer cookies immediately to a rack. Also, storing them properly helps maintain crispness.
Can I add other flavors to the Vanilla Wafers Recipe?
Absolutely! Adding a teaspoon of almond extract or a bit of lemon zest can add an exciting twist to the classic vanilla. Just be careful not to overpower the vanilla flavor that is the highlight here.
How do I make the wafers perfectly uniform in size?
Using a small cookie scoop or measuring teaspoon helps ensure uniform size and even baking. Dropping the dough carefully and spacing cookies about 2 inches apart also allows them to bake evenly without merging.
Final Thoughts
There’s something truly special about homemade vanilla wafers that feels like a warm hug in cookie form. This Vanilla Wafers Recipe is easy, reliable, and so rewarding every time you pull them out of the oven. Whether you enjoy them straight up or use them to build your favorite desserts, these wafers will quickly become a cherished staple in your baking repertoire. I can’t wait for you to try making them and fall in love just like I did!
Print
Vanilla Wafers Recipe
- Total Time: 25 minutes
- Yield: 12 cookies
Description
Classic homemade vanilla wafers, crisp and golden with a sweet vanilla flavor. Perfect for snacking or using in desserts like banana pudding.
Ingredients
Wet Ingredients
- 1/2 cup butter, softened
- 1 cup sugar
- 1 egg
- 1 tablespoon vanilla extract
Dry Ingredients
- 1–1/3 cups all-purpose flour
- 3/4 teaspoon baking powder
- 1/4 teaspoon salt
Instructions
- Cream Butter and Sugar: In a large bowl, cream the softened butter and sugar together until the mixture becomes light and fluffy, ensuring a smooth texture for the dough.
- Add Egg and Vanilla: Beat in the egg and vanilla extract thoroughly, combining all wet ingredients evenly.
- Mix Dry Ingredients: In a separate bowl, combine the all-purpose flour, baking powder, and salt. Gradually add this dry mixture to the creamed wet ingredients and mix well until a smooth dough forms.
- Form Cookies: Drop teaspoonfuls of the dough about 2 inches apart onto ungreased baking sheets, shaping each into a small round mound.
- Bake: Bake the cookies in a preheated oven at 350°F (175°C) for 12 to 15 minutes, or until the edges turn golden brown.
- Cool: Remove the cookies from the oven and transfer them to wire racks to cool completely before serving.
Notes
- Ensure butter is softened to room temperature for easier creaming.
- Do not grease the baking sheets to allow the edges to become crispy.
- For even baking, space cookies about 2 inches apart.
- Use a wire rack to cool cookies to avoid sogginess.
- Store in an airtight container to maintain freshness.
- Prep Time: 10 minutes
- Cook Time: 15 minutes
- Category: Baking
- Method: Baking
- Cuisine: American


