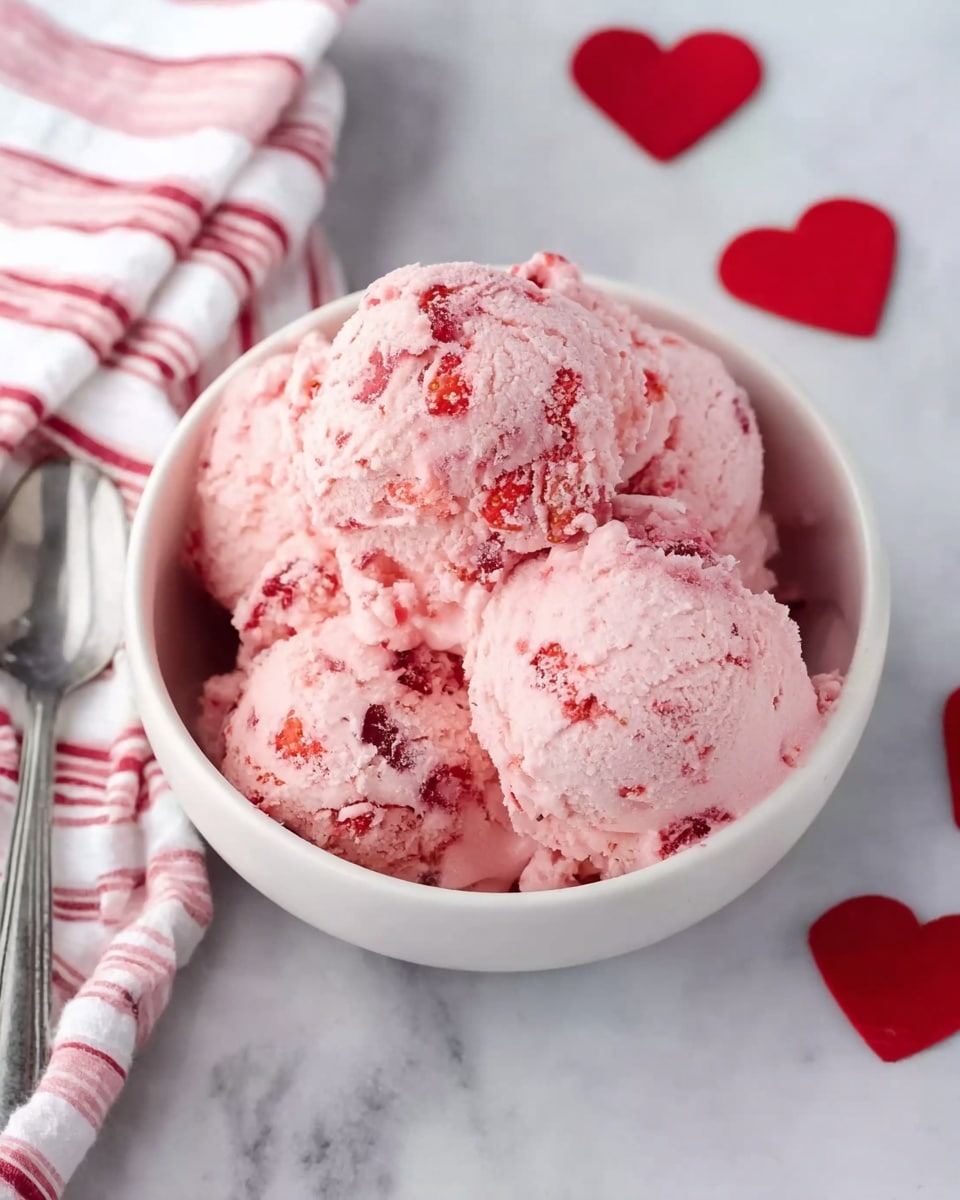
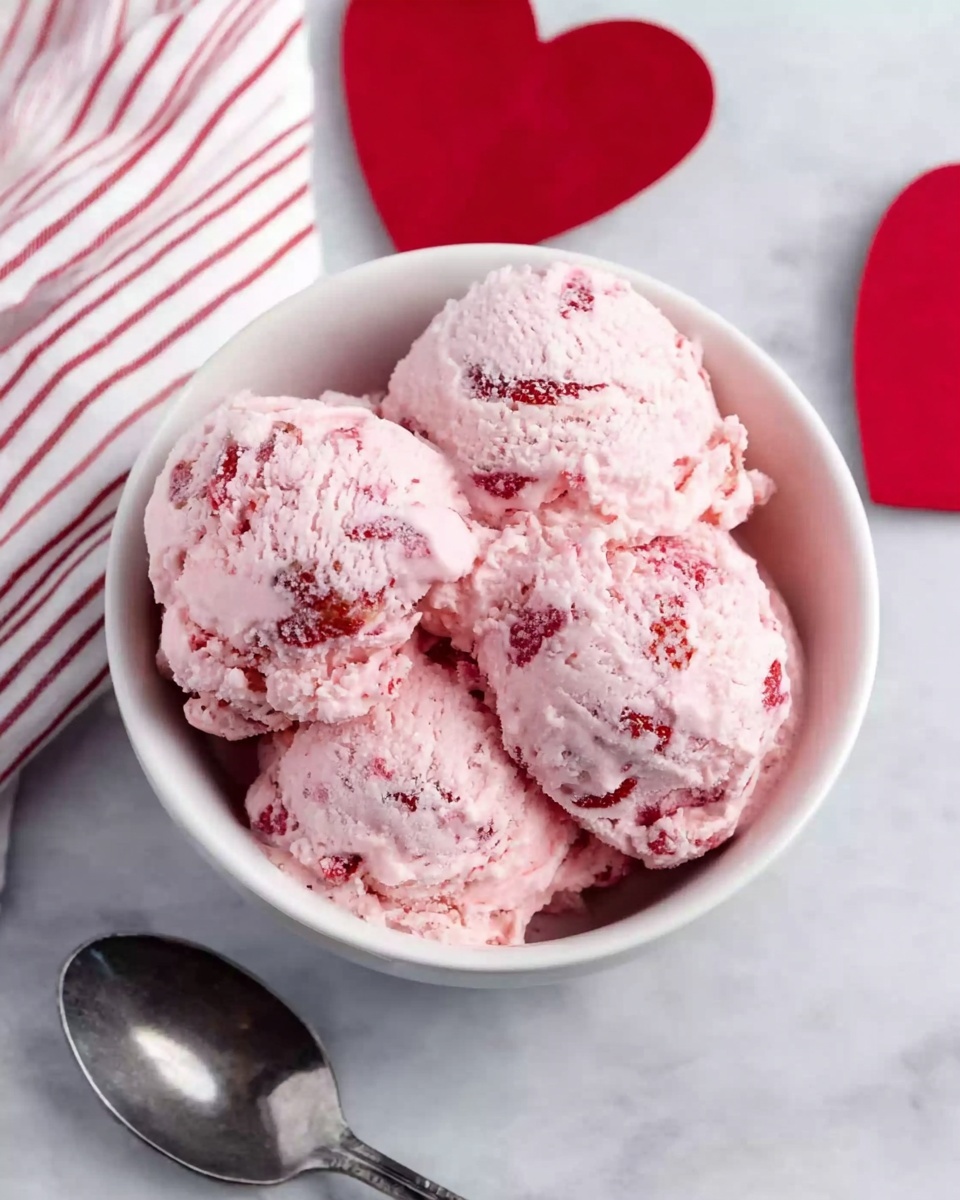
If you’ve ever dreamed of combining the rich, velvety charm of cake with the creamy bliss of frozen dessert, then this Red Velvet Ice Cream Recipe is about to become your new obsession. Bursting with the classic flavors and striking red hue of red velvet cake, this ice cream offers a luxurious texture thanks to a luscious blend of cream cheese, heavy cream, and milk. It’s a sweet treat that feels indulgent without being complicated, perfect for impressing guests or spoiling yourself on those warm, sunny days.
Ingredients You’ll Need
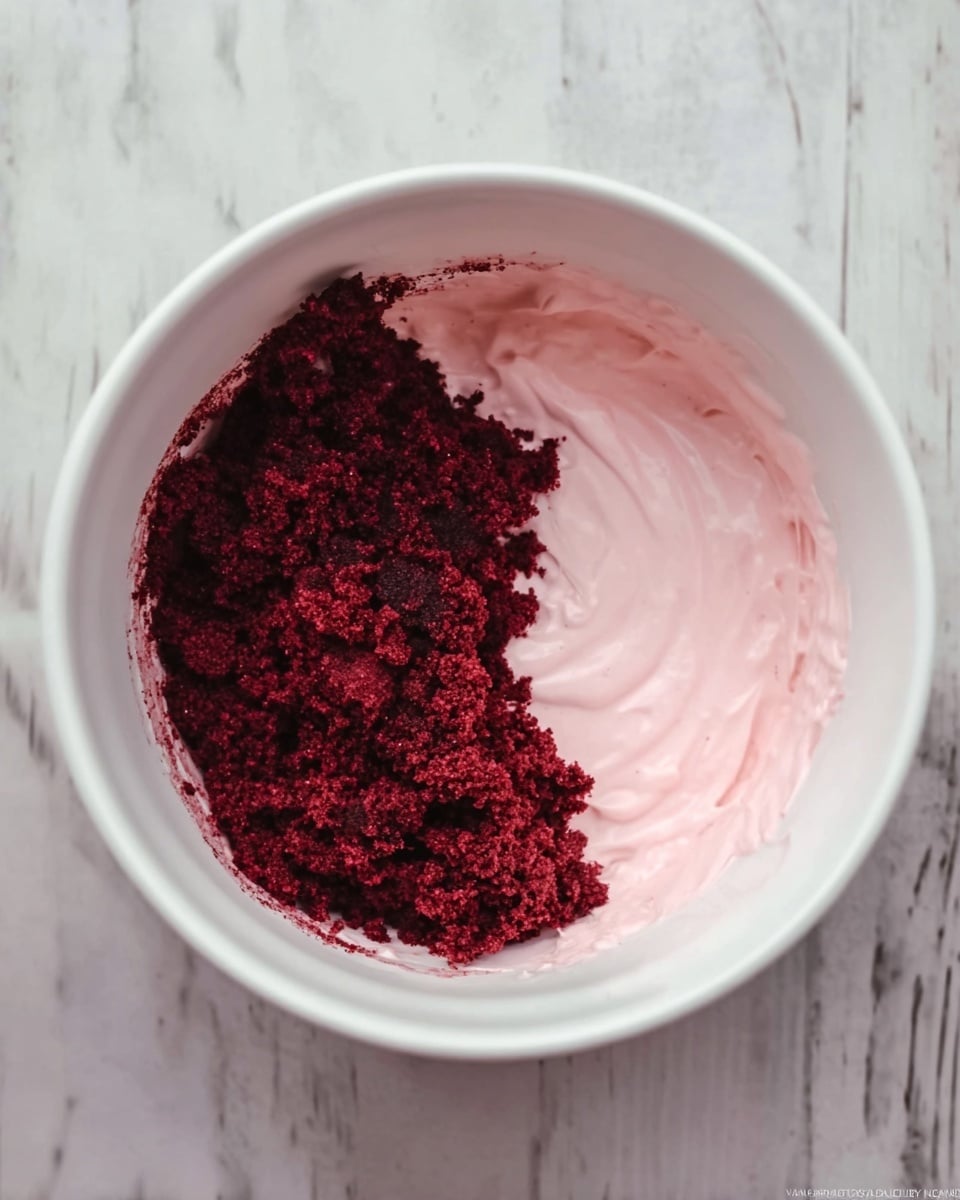
Getting ready to whip up this Red Velvet Ice Cream Recipe is a breeze because all the key ingredients are simple, yet play essential roles in making this dessert irresistible. Each component contributes a special touch, from the tangy cream cheese giving a silky richness, to the bright red food coloring bringing that signature look, and of course the cake crumbs that pack in the texture and intense red velvet flavor.
- Heavy whipping cream: Provides the creamy base that makes this ice cream luscious and smooth while holding soft peaks when whipped.
- Milk: Adds a lighter dairy note, helping balance richness and ensure the perfect frozen consistency.
- Red food coloring: Infuses that iconic red velvet hue; a little goes a long way to achieve a gorgeous pink-red shade.
- Cream cheese: Gives a delightful tang and extra creaminess that enhances the ice cream’s velvety character.
- Granulated sugar: Sweetens the mix to perfection without overpowering the delicate flavors.
- Red velvet cake crumbs: Adds authentic cake flavor and a fun texture contrast that elevates the ice cream beyond basic flavors.
How to Make Red Velvet Ice Cream Recipe
Step 1: Whip the Heavy Cream
Start by vigorously whisking the heavy whipping cream in a mixing bowl until soft peaks form. This stage is crucial—over-whipping can turn your cream grainy, so stop as soon as you see fluffy, smooth peaks that still hold their shape.
Step 2: Incorporate Milk, Sugar, and Cream Cheese
Slowly add the milk, granulated sugar, and cream cheese into the whipped cream, folding gently to combine. The cream cheese should be softened to blend seamlessly, creating an ultra-smooth base that balances sweetness with just the right tang.
Step 3: Add the Red Food Coloring
Gently fold in 1/4 teaspoon of red food coloring for that classic visual pop. Don’t rush this part—fold slowly to swirl that color through the mixture evenly. If you want a deeper red tint, feel free to add a tiny bit more food coloring to amp up the wow factor.
Step 4: Fold in the Red Velvet Cake Crumbs
Now for the fun part: stir in the red velvet cake crumbs. They bring a tender texture and authentic cake flavor that really make this ice cream feel like a decadent dessert hybrid.
Step 5: Freeze to Perfection
Pour your luscious ice cream mixture into a bread pan or any freezer-safe container, smoothing the top evenly. Pop it into the freezer for 6 to 8 hours or, better yet, overnight. This rest time lets the flavors meld beautifully while achieving a firm yet creamy consistency.
How to Serve Red Velvet Ice Cream Recipe
Garnishes
For a touch of elegance and extra indulgence, sprinkle some crushed red velvet cake crumbs or mini white chocolate chips on top. A dollop of whipped cream with a light dusting of cocoa powder or a drizzle of cream cheese glaze can also bring wonderful texture and visual appeal.
Side Dishes
This ice cream is marvelous on its own but also pairs beautifully with fresh berries or a warm chocolate brownie. Serving it alongside classic vanilla or chocolate chip cookies creates a fun mix of textures and flavors that keeps everyone coming back for more.
Creative Ways to Present
Try scooping this ice cream into waffle cones lined with sprinkles or crushed nuts for an exciting twist. You can also sandwich it between slices of red velvet cake for a show-stopping ice cream cake or serve in elegant parfait glasses layered with extra cake crumbs and a swirl of cream cheese frosting.
Make Ahead and Storage
Storing Leftovers
Leftover Red Velvet Ice Cream can be stored in an airtight container in the freezer for up to a week. Be sure to press plastic wrap directly onto the surface before sealing to prevent ice crystals from forming and to keep the texture incredibly smooth.
Freezing
This recipe freezes beautifully because of the high fat content from cream and cream cheese. For best results, freeze it overnight, giving the flavors time to marry into a heavenly fusion of creamy and cakey goodness.
Reheating
Ice cream is best enjoyed frozen, but if it has become too hard, let it sit at room temperature for 5 to 10 minutes before scooping to soften slightly without melting completely. This waiting allows you to savor the perfect scoop every time.
FAQs
Can I make this Red Velvet Ice Cream Recipe without an ice cream maker?
Absolutely! This recipe is designed to be simple and does not require an ice cream maker. The whipping and freezing method creates a creamy texture without extra equipment, making it accessible for all home cooks.
Can I substitute the red velvet cake crumbs with another type of cake?
You can experiment with other cakes, but the classic red velvet crumbs provide that iconic flavor and color. If you swap in a different cake, the distinct red velvet taste will be less pronounced, but the ice cream will still be delicious.
Is there a healthier alternative for heavy cream or cream cheese in this recipe?
For the best texture and taste, heavy cream and cream cheese are essential here. Using lighter substitutes may affect the creaminess and richness, but you can try reduced-fat versions if you prefer a lighter treat.
How long can I keep the Red Velvet Ice Cream frozen?
For optimal flavor and texture, enjoy the ice cream within a week. Beyond that, it may start developing ice crystals and lose some of its creamy consistency.
Can I prepare this ice cream ahead of a party?
Definitely! This ice cream benefits from being made in advance. Preparing it a day ahead lets it set perfectly and gives you one less thing to worry about when entertaining guests.
Final Thoughts
This Red Velvet Ice Cream Recipe is truly a gem in the world of homemade frozen desserts. It’s elegant enough to serve on special occasions yet simple enough to make whenever the craving strikes. With its creamy, tangy, and colorful personality, it’s bound to become one of your favorites too. Don’t hesitate to dive into this delicious creation—you deserve every scoop!
Print
Red Velvet Ice Cream Recipe
- Total Time: 8 hours 15 minutes
- Yield: 1 serving
Description
A creamy and decadent homemade red velvet ice cream featuring rich cream cheese and velvety red velvet cake crumbs, perfect for a special dessert treat. This no-churn recipe blends whipped cream, milk, and cake crumbs to create a luscious frozen dessert with vibrant color and flavor.
Ingredients
Ice Cream Base
- 2 cups heavy whipping cream
- 1 cup milk
- 4 ounces cream cheese
- 1/4 cup granulated sugar
- 1/4 teaspoon red food coloring
Add-ins
- 2 cups red velvet cake crumbs
Instructions
- Whip the Cream: In a large mixing bowl, whisk the heavy whipping cream until soft peaks form. Be careful not to over-whisk to prevent the cream from becoming grainy.
- Combine Ingredients: Gently add the milk, granulated sugar, and cream cheese to the whipped cream. Mix slowly to avoid splashing and to keep the texture smooth.
- Add Color: Stir in 1/4 teaspoon of red food coloring gently, folding it into the mixture. Add more if a deeper pink hue is desired, but fold carefully to maintain the airy texture.
- Incorporate Cake Crumbs: Fold in the red velvet cake crumbs evenly throughout the mixture to disperse their flavor and texture.
- Freeze the Ice Cream: Pour the combined mixture into a bread pan or container and freeze for 6 to 8 hours, or overnight, until it is firm and scoopable.
Notes
- Do not over-whisk the cream to ensure a smooth texture.
- Use full-fat cream cheese for the best taste and creaminess.
- Adjust red food coloring to reach your preferred color intensity.
- For best results, use fresh red velvet cake for the crumbs.
- Allow the ice cream to sit at room temperature for a few minutes before serving to soften slightly.
- Prep Time: 15 minutes
- Cook Time: 0 minutes
- Category: Dessert
- Method: No-Cook
- Cuisine: American


