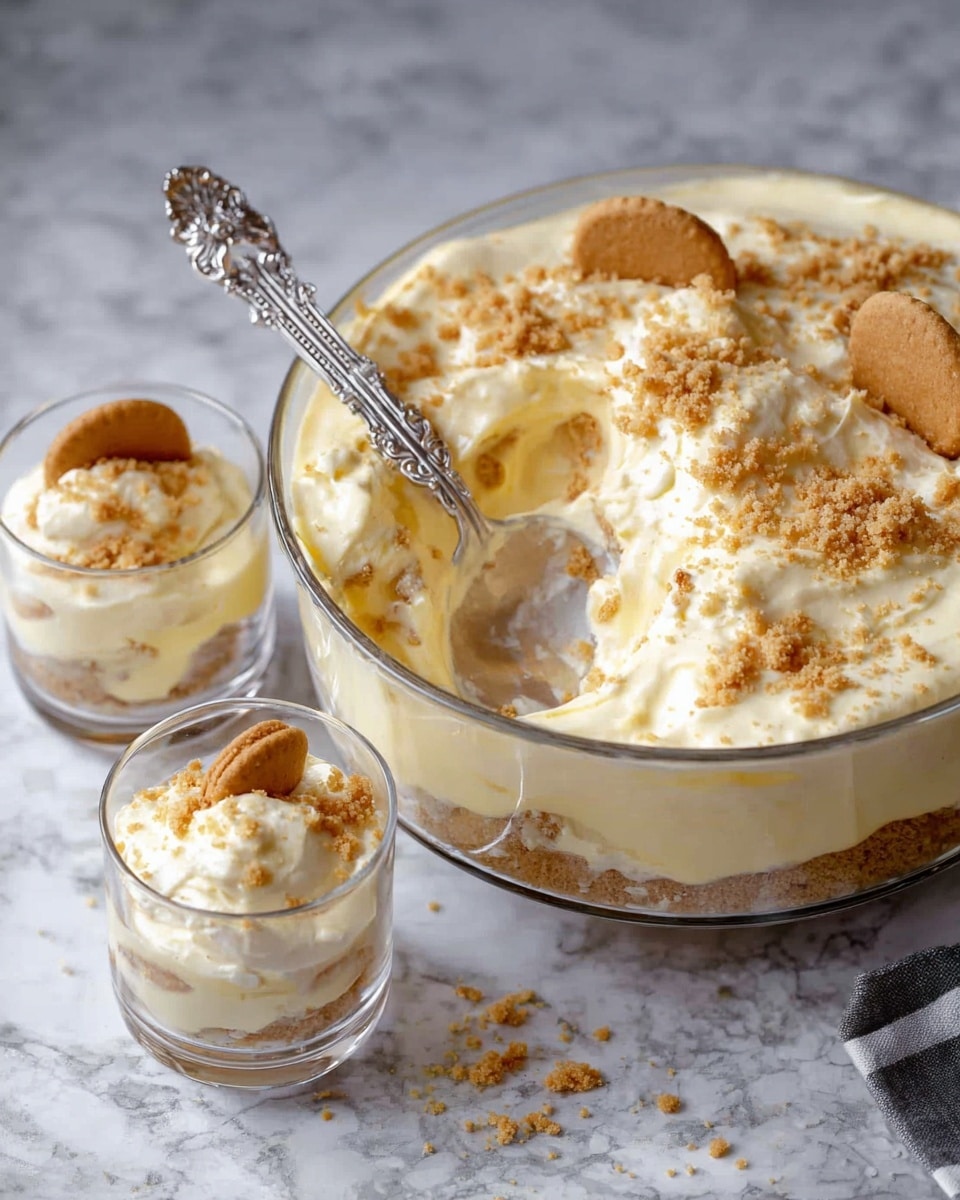
If you are searching for a dessert that is both nostalgic and irresistibly creamy, look no further than this Banana Pudding with Vanilla Wafers Recipe. It combines the perfect balance of sweet bananas, rich pudding, and those crunchy, buttery vanilla wafers that soak up just enough creaminess without losing their charm. Whether it’s for a family gathering or a cozy night in, this classic Southern treat brings comfort and smiles to every spoonful.
Ingredients You’ll Need
Gathering these simple ingredients is the first step toward an enchanting dessert. Every component plays its role beautifully, from the luscious sweetness of the condensed milk to the fresh bite of sliced bananas, creating layers of flavor and texture that make this dish unforgettable.
- Sweetened condensed milk: Adds a rich, creamy sweetness that is the heart of the pudding base.
- Cold water: Essential for dissolving the instant vanilla pudding to achieve the perfect silky texture.
- Instant vanilla pudding mix (3.4 ounces): Provides that unmistakable vanilla flavor and thickens the dessert with ease.
- Heavy cream: Whipped to stiff peaks, it brings a light, airy contrast to the dense pudding.
- Vanilla wafers: These crisp little cookies add the perfect crunch and a hint of vanilla, soaking up the pudding without turning mushy too quickly.
- Sliced bananas: Fresh and sweet, they are the star fruit that brings brightness and natural flavor to every bite.
How to Make Banana Pudding with Vanilla Wafers Recipe
Step 1: Prepare the pudding mixture
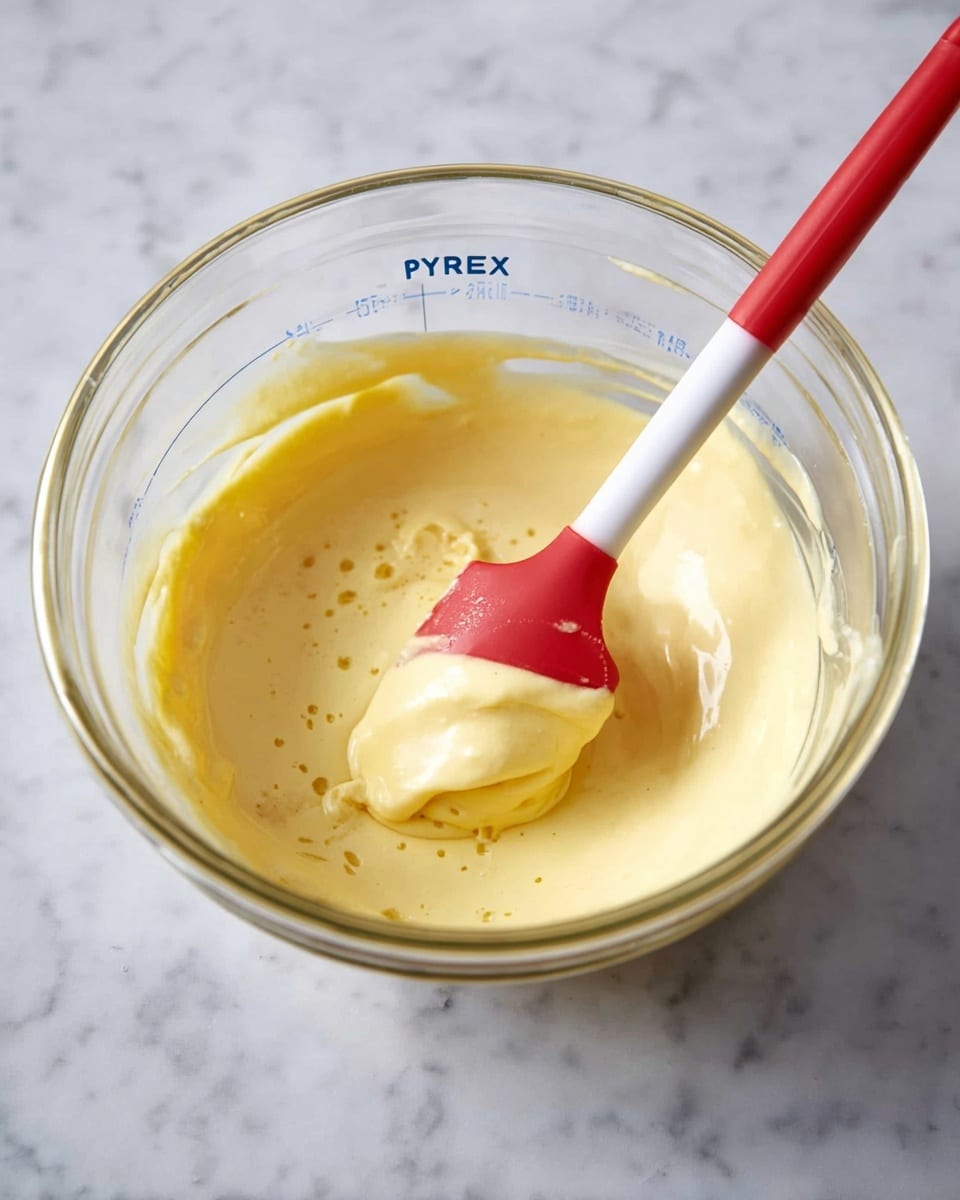
In the bowl of a stand mixer, start by blending the sweetened condensed milk with cold water, mixing it smoothly for about a minute. Then, add your instant vanilla pudding mix and beat on medium-high speed for two full minutes until everything thicks up nicely. This chilled mixture is going to be your creamy base, so cover it tightly with plastic wrap and refrigerate for at least four hours or preferably overnight to let those flavors meld beautifully.
Step 2: Whip the heavy cream
While your pudding base chills, it’s time to whip the heavy cream. Beat it until stiff peaks form—this light and fluffy cream will be gently folded into your pudding, adding a wonderful airy texture that makes the dessert feel luscious and dreamy rather than heavy.
Step 3: Combine cream with pudding mixture
Take your chilled pudding mixture out, and with a delicate hand, fold the whipped cream into it. The goal here is to keep as much air as possible for a light yet creamy consistency. This step transforms the pudding into a luxurious filling that will layer perfectly with the rest of the ingredients.
Step 4: Assemble the layers
Choose a clear glass bowl that holds about 4 quarts or a 9 x 13 baking dish for showcasing these layers. Start by spreading a third of the vanilla wafers on the bottom—the slight overlap is perfectly fine. Then layer a third of the sliced bananas evenly on top, followed by a third of your creamy pudding. Repeat this layering process two more times, finishing with pudding. This structure ensures every bite has a harmonious mix of textures and flavors.
Step 5: Chill and garnish
Cover your assembled banana pudding with plastic wrap and refrigerate for at least four hours to let the flavors meld and the wafers soften just enough. Avoid leaving it longer than eight hours, or the bananas may start to brown, affecting the appearance and fresh taste. Just before serving, garnish with a few crushed vanilla wafers to add a pretty, crunchy final touch that will impress your guests.
How to Serve Banana Pudding with Vanilla Wafers Recipe
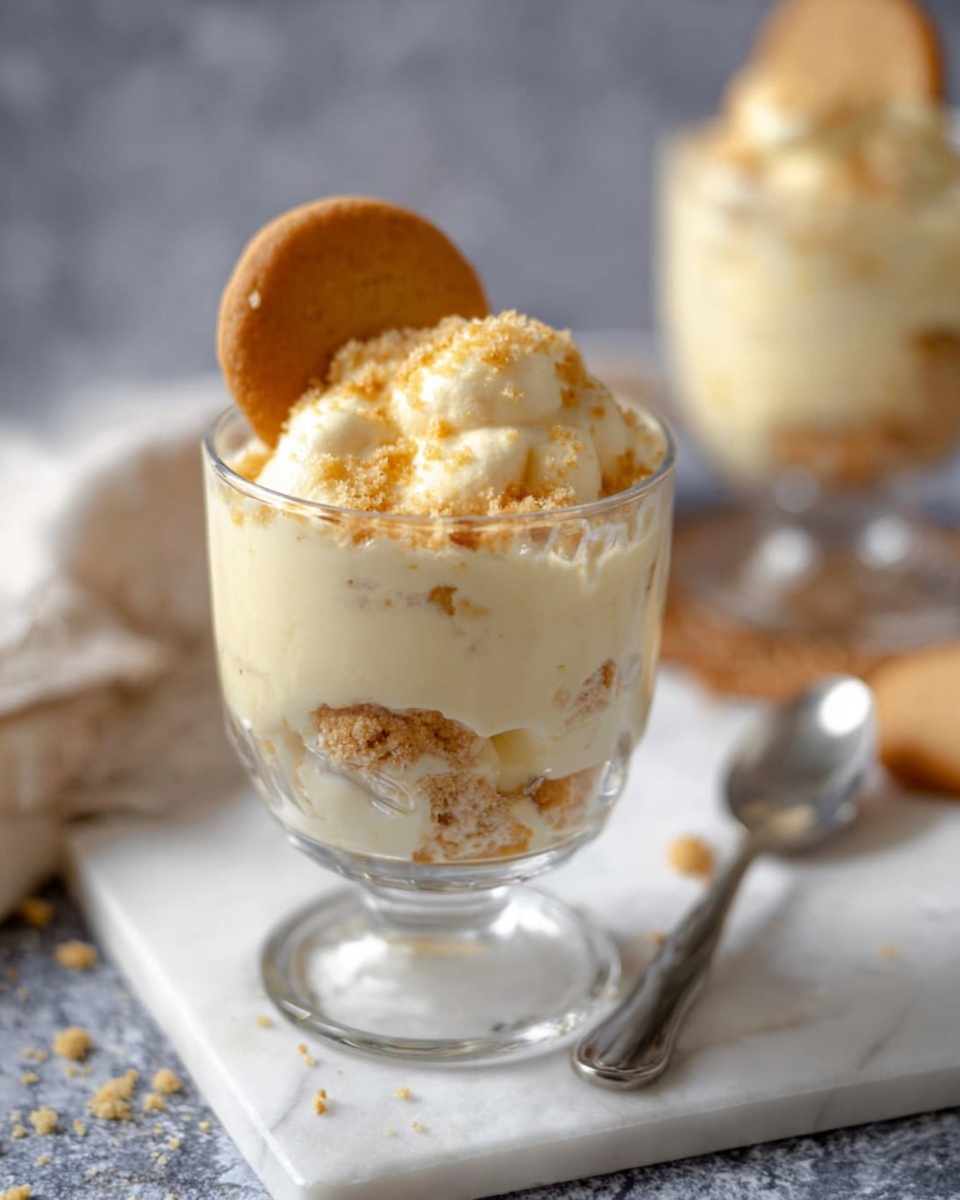
Garnishes
A delightful garnish can elevate your dessert to the next level. Besides crushed vanilla wafers, consider adding a sprinkle of toasted coconut flakes or a few fresh banana slices on top for an extra pop of texture and color. A light dusting of cinnamon or nutmeg can also add a warm spice note if you’re feeling adventurous.
Side Dishes
Banana pudding is a dessert star that shines best on its own, but pairing it with a tart fruit salad or a small scoop of vanilla ice cream can make the meal feel even more festive. Simple complements like a cup of hot coffee or a glass of milk enhance the nostalgic vibe of this sweet treat.
Creative Ways to Present
If you’re aiming to wow your friends or family, try serving this banana pudding in individual clear cups or mason jars. This allows everyone to see the beautiful layers and makes portioning effortless. You might also add a decorative dollop of whipped cream and a single vanilla wafer standing upright for an Instagram-worthy finish.
Make Ahead and Storage
Storing Leftovers
Banana pudding keeps wonderfully in the refrigerator for up to three days. Just make sure it’s tightly covered to prevent it from absorbing other odors. Keep in mind that the vanilla wafers will continue to soften, so the texture might shift slightly, but the flavor remains just as delightful.
Freezing
Freezing banana pudding is possible, but it’s best avoided if you want to maintain the fresh banana texture. The bananas can become mushy when thawed. If you do freeze it, package the pudding tightly in an airtight container without the wafers and add fresh ones after thawing.
Reheating
This dessert is designed to be enjoyed chilled, so reheating is not recommended. Serving it cold enhances the creamy consistency and keeps those vanilla wafers from becoming overly soggy.
FAQs
Can I use fresh homemade pudding instead of instant pudding mix?
Absolutely! Homemade vanilla pudding can add a personal touch to your Banana Pudding with Vanilla Wafers Recipe. Just be sure the pudding is fully chilled before folding in the whipped cream for the best texture.
What is the best type of banana to use?
Choose ripe but firm bananas. Overripe bananas might be too soft and could break down too much during chilling, while under-ripe ones won’t be sweet enough or flavorful enough.
Can I substitute another type of cookie for vanilla wafers?
You can experiment with different cookies like shortbread or ladyfingers, but vanilla wafers remain the classic choice because of their perfect balance of crunch and vanilla flavor that complements the pudding wonderfully.
How long does the Banana Pudding with Vanilla Wafers Recipe take to set?
For the ideal texture and flavor melding, you want to refrigerate it for at least four hours, though overnight chilling is even better. This allows the wafers to soften just right and the pudding to fully develop its creamy consistency.
Is this recipe suitable for a crowd?
Definitely! The recipe makes about 12 servings, so it’s perfect for family reunions, potlucks, or any gathering where you want to impress with classic homemade comfort food.
Final Thoughts
There’s something truly special about making this Banana Pudding with Vanilla Wafers Recipe—a dessert that feels like a warm hug from the inside. With its creamy layers, fresh bananas, and sweet vanilla wafers, it’s a crowd-pleaser that’s easy to love and even easier to make. I hope you find as much joy in preparing and sharing it as I do. Give it a try and watch smiles bloom around your table!
Print
Banana Pudding with Vanilla Wafers Recipe
- Total Time: 4 hours 15 minutes
- Yield: 12 servings
Description
This classic Banana Pudding with Vanilla Wafers is a creamy, layered dessert perfect for gatherings and special occasions. Featuring a luscious blend of sweetened condensed milk, instant vanilla pudding, and whipped heavy cream, this no-bake treat is layered with crisp vanilla wafers and fresh sliced bananas, then chilled to perfection. The combination of smooth pudding, tender bananas, and crunchy wafers makes for a delightful and refreshing dessert that’s both satisfying and easy to prepare.
Ingredients
Pudding Mixture
- 14 ounces sweetened condensed milk
- 1 ½ cups cold water
- 1 package instant vanilla pudding mix (3.4 ounces)
Whipped Cream
- 3 cups heavy cream
Assembly
- 1 box vanilla wafers
- 4 cups sliced bananas
Instructions
- Prepare the pudding base: In the bowl of a stand mixer, combine the sweetened condensed milk and cold water, mixing well for about one minute until fully blended. Add the instant vanilla pudding mix and beat on medium-high speed for 2 minutes. Cover the bowl with plastic wrap and refrigerate for at least 4 hours or overnight to allow the pudding to set.
- Whip the cream: Beat the heavy cream in a separate bowl until stiff peaks form. This means the cream should hold its shape firmly when the beaters are lifted.
- Combine cream and pudding: Gently fold the whipped cream into the chilled pudding mixture, carefully blending to maintain a light, airy texture without deflating the cream.
- Assemble the banana pudding: In a clear glass bowl that holds about 4 quarts, or alternatively a 9 x 13-inch baking dish, arrange one-third of the vanilla wafers on the bottom. The wafers can be overlapped to cover the base. Layer one-third of the sliced bananas over the wafers, followed by one-third of the pudding mixture. Repeat these layers two more times, ending with the pudding on top.
- Chill before serving: Cover the assembled pudding with plastic wrap and refrigerate for at least 4 hours, but no longer than 8 hours. If chilled beyond 8 hours, the bananas may begin to brown.
- Garnish and serve: Before serving, garnish with a couple of crushed vanilla wafers on top for added texture and presentation.
Notes
- For best texture, assemble the pudding shortly before serving and consume within 8 hours to avoid browning of bananas.
- Use ripe but firm bananas to prevent them from becoming too mushy in the pudding.
- If desired, lightly brush banana slices with lemon juice to reduce browning when preparing in advance.
- This dessert is best served chilled, so allow sufficient refrigeration time for optimal flavor and texture.
- Leftovers can be stored covered in the refrigerator for up to 2 days.
- Prep Time: 15 minutes
- Cook Time: 0 minutes
- Category: Dessert
- Method: No-Cook
- Cuisine: American


