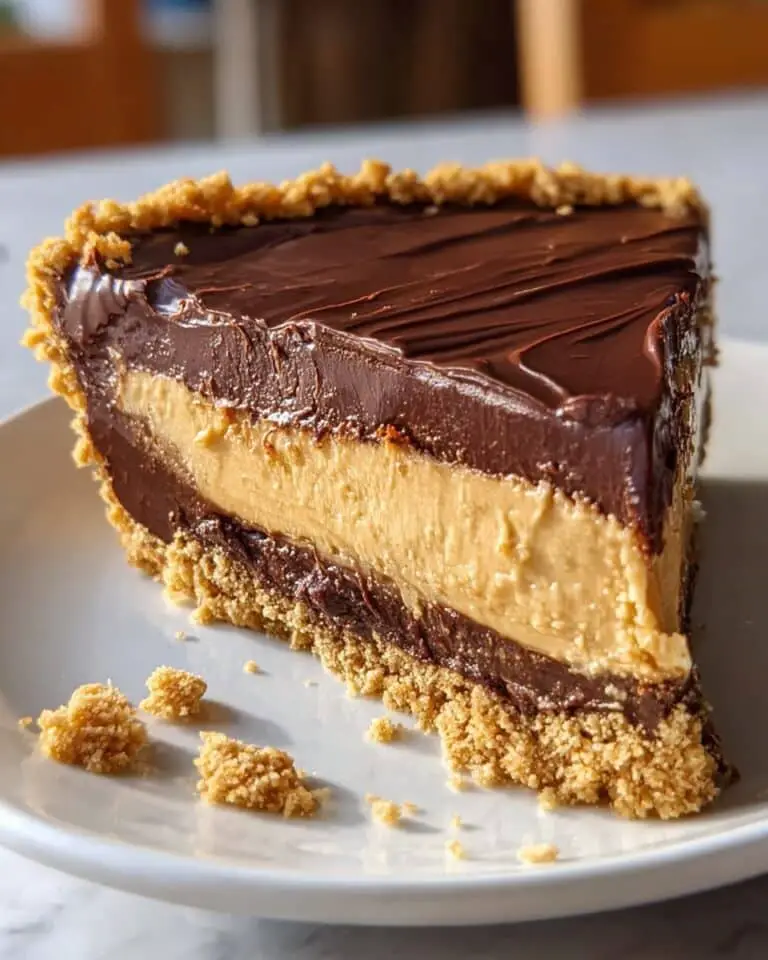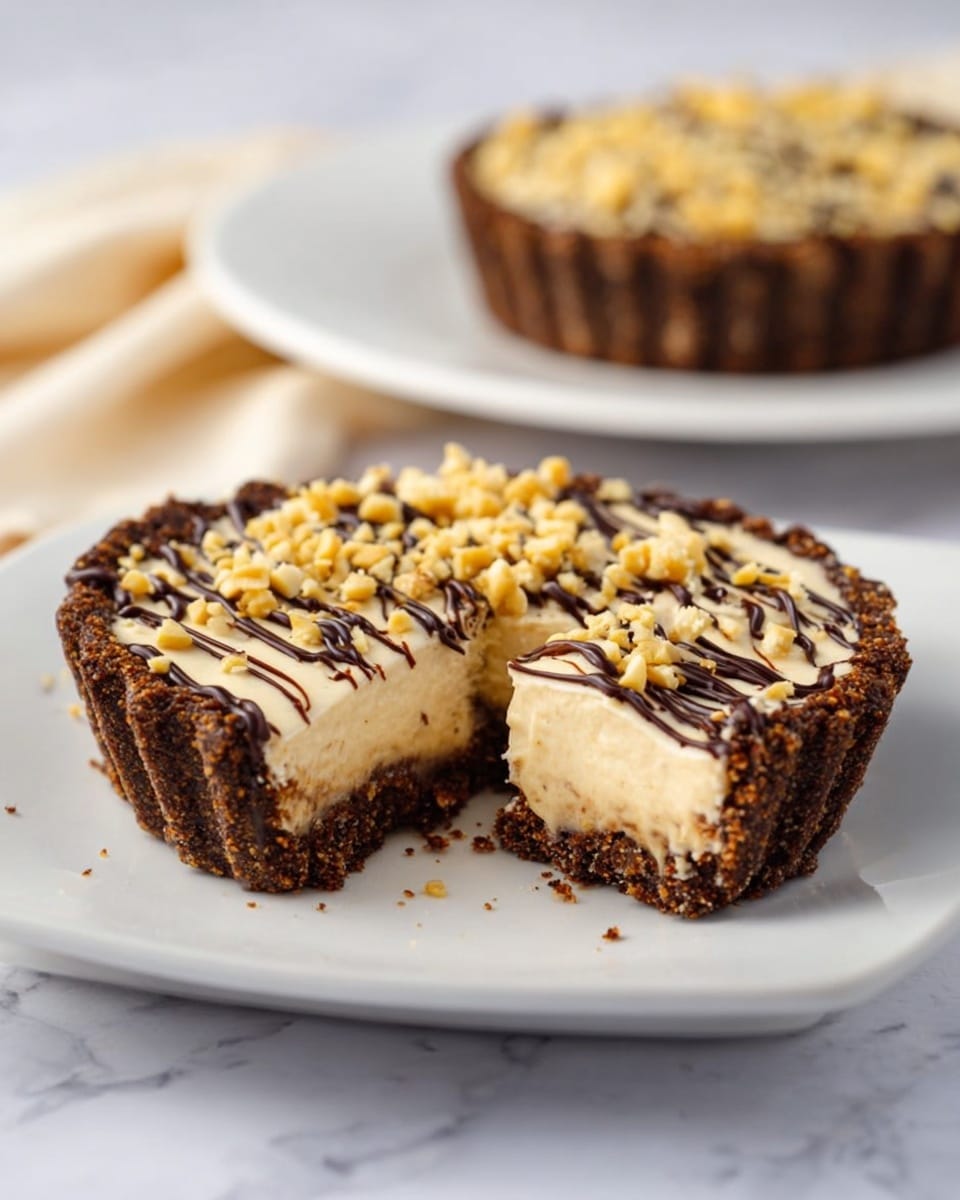
If you are a peanut butter lover searching for the perfect indulgent treat, this Mini Peanut Butter Pies Recipe is an absolute must-try. Bursting with rich peanut buttery flavor, silky cream cheese, and just the right amount of sweetness, these minis pack deliciousness into every bite-sized pie. They’re easy to make but feel special enough for any occasion — from casual get-togethers to holiday celebrations. With layers of melted chocolate, creamy fillings, and crunchy peanut toppings, you’ll find yourself coming back for more. Let me take you on a delightful journey through crafting these irresistible mini peanut butter pies.
Ingredients You’ll Need
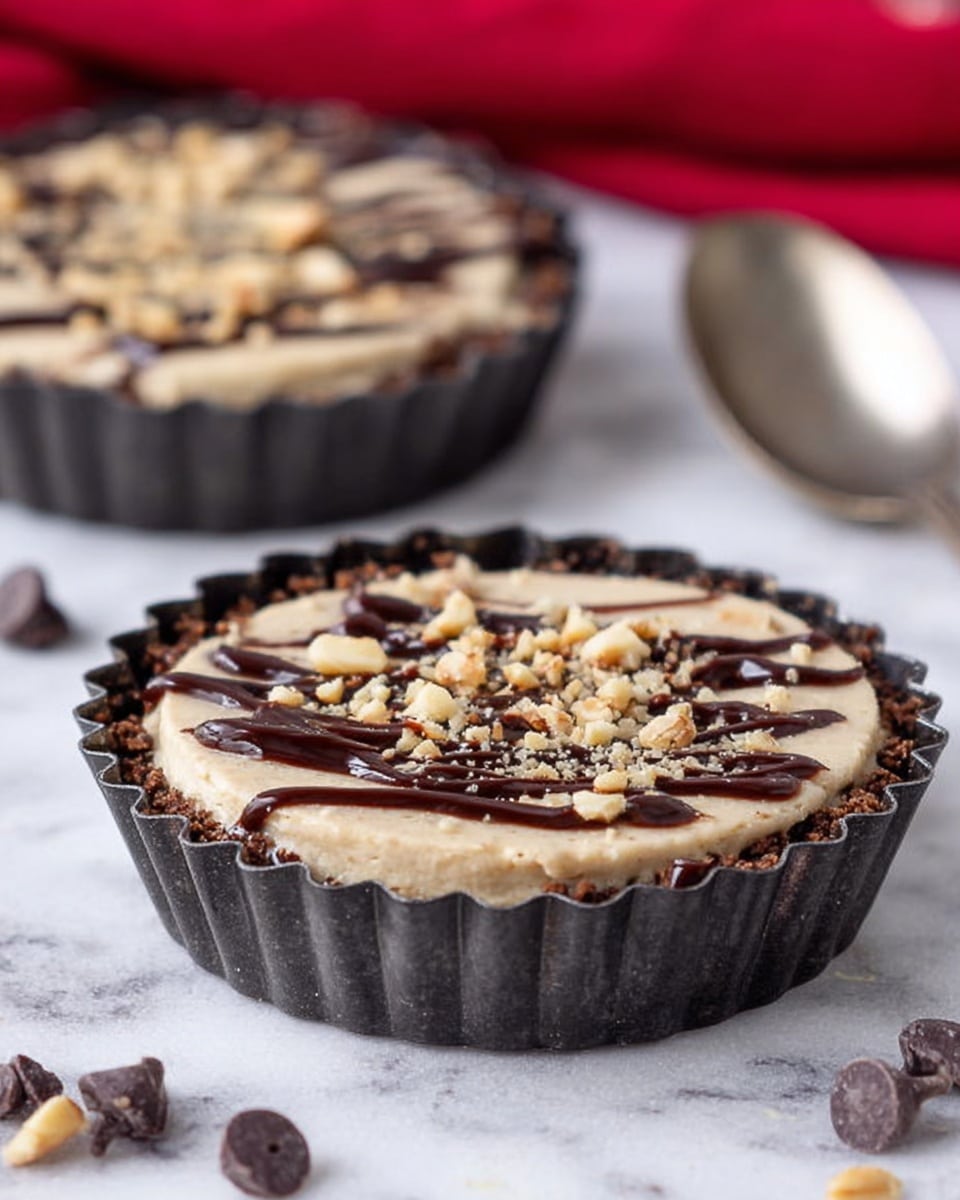
These ingredients may be simple and familiar, but each one plays a crucial role in building the perfect balance of flavor and texture that makes these mini pies so memorable. From the crunchy graham cracker crusts to the whipped cream that lightens the filling, everything works in harmony.
- 12 miniature or 2 medium-sized graham cracker pie crusts: A buttery, crunchy base that provides the perfect structure and nostalgic flavor.
- 4 oz semi-sweet chocolate chips: Melted to form a rich, smooth chocolate layer that beautifully complements the peanut butter.
- 1 cup heavy cream: Whipped to soft peaks, this adds lightness and creaminess to the filling.
- 8 oz whipped cream cheese, room temperature: Adds a tangy creaminess that balances the peanut butter’s sweetness.
- 1/2 cup creamy peanut butter, whipped: The star ingredient—evoking that classic peanut butter flavor with a silky texture.
- 1/2 cup chocolate peanut butter: Adds an extra layer of chocolaty goodness intertwined with peanut butter.
- 1 cup confectioners’ sugar: Sweetens and stabilizes the filling, ensuring perfect consistency.
- 1 14-oz can sweetened condensed milk: Adds creaminess and richness with a subtle caramel undertone.
- 1 tsp vanilla extract: Enhances all the flavors, tying the filling together.
- 1/4 cup peanuts, chopped for topping: Gives a delightful crunch and enhances the nutty aroma.
How to Make Mini Peanut Butter Pies Recipe
Step 1: Prepare the Chocolate Base
Start by melting the semi-sweet chocolate chips until they’re silky and smooth. A quick tip is to melt them gently over a double boiler or in short bursts in the microwave to avoid burning. Once melted, spoon a teaspoon into each graham cracker crust and swirl it evenly across the base. Then, pop them into the fridge to let the chocolate set solid. This adds a delicious chocolate shell that keeps the crust wonderfully crisp.
Step 2: Whip the Heavy Cream
Pour the heavy cream into a chilled bowl and use a stand mixer fitted with the whisk attachment to whip it on medium speed. Watch for soft peaks, which should take just a couple of minutes. This whipped cream will lighten our luscious peanut butter filling and give it that dreamy texture.
Step 3: Make the Peanut Butter Filling
With the mixer’s paddle attachment, combine the softened cream cheese, creamy peanut butter, and chocolate peanut butter. Mix on medium speed until it’s all beautifully blended and smooth. Then gradually add in the confectioners’ sugar, allowing it to incorporate fully before moving on. It’s important to mix well to avoid any lumps and to keep the texture silky.
Step 4: Add Sweetened Condensed Milk and Vanilla
Pour the sweetened condensed milk and vanilla extract into the mixture and continue beating until everything comes together in a velvety, smooth filling. This will create a luscious base rich with flavor and a touch of sweetness that is not overpowering.
Step 5: Fold in the Whipped Cream
To keep the filling light and airy, gently fold the whipped cream into the peanut butter mixture. Folding rather than mixing ensures you don’t deflate the air you’ve just whipped into the cream, helping the filling maintain its fluffy texture.
Step 6: Fill the Crusts and Finish
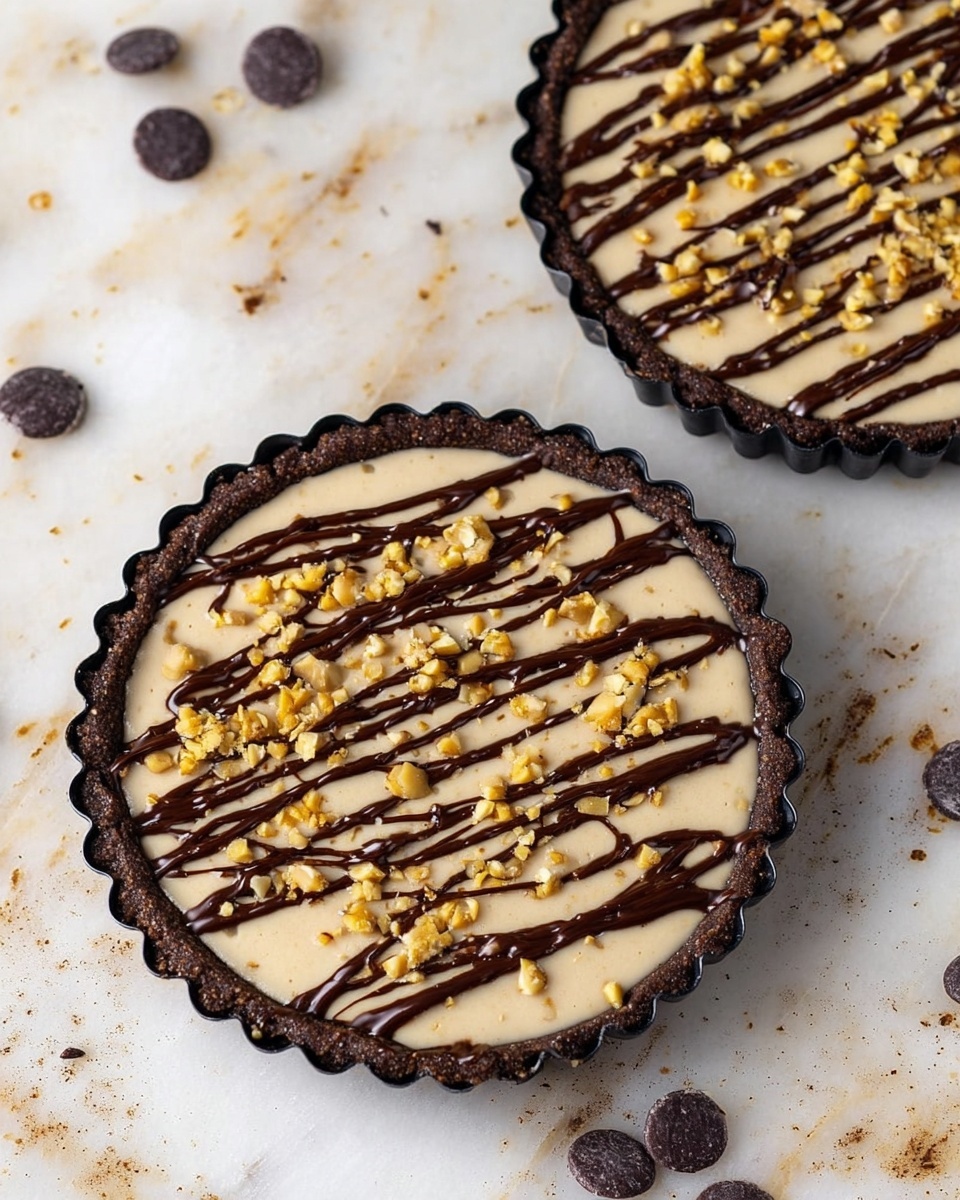
Take the chocolate-coated graham cracker crusts out of the fridge and spoon about 3 tablespoons of the decadent peanut butter filling into each one. Smooth out the tops carefully with an offset spatula for a clean, elegant finish. Then drizzle any remaining melted chocolate over the tops and sprinkle with chopped peanuts for that irresistible crunch and a hint of toasted nut aroma.
Step 7: Chill Before Serving
Refrigerate the mini peanut butter pies for at least one hour to let them set completely. This chilling time allows all the flavors to settle and the texture to firm up perfectly, making each bite a creamy, crunchy delight.
How to Serve Mini Peanut Butter Pies Recipe
Garnishes
Garnishing your mini pies thoughtfully can take them from great to show-stopping. A sprinkle of crushed peanuts is classic and adds crunch, but you can also try a light dusting of cocoa powder or a small dollop of whipped cream on top. Fresh raspberries provide a pop of color and a lovely tart contrast to the rich peanut butter.
Side Dishes
These pies shine best as a sweet finish on their own, but they pair wonderfully with a few companions. Think a scoop of vanilla bean ice cream or a drizzle of caramel sauce on the side for extra indulgence. A cold glass of milk or a robust cup of coffee also complements their richness beautifully.
Creative Ways to Present
For a festive touch, serve your mini peanut butter pies on a tiered dessert stand or in colorful cupcake liners to highlight their charm. You could also assemble them into a dessert platter alongside other peanut butter treats like cookies or brownies. For parties, add little flags or labels to make them even more inviting.
Make Ahead and Storage
Storing Leftovers
Once made, these mini pies keep well in the refrigerator for up to 3 days. Store them in an airtight container to maintain their freshness and prevent absorption of other fridge odors. The crust stays crisp, and the filling retains its creamy texture during this time.
Freezing
You can freeze the mini peanut butter pies if you want to prepare them well in advance. Wrap each pie individually in plastic wrap and place them in a freezer-safe container. They are best consumed within one month for optimal texture and flavor. When ready to enjoy, thaw them overnight in the refrigerator.
Reheating
Since these pies are best enjoyed cold for their creamy texture, reheating is generally not recommended. If you prefer a softer filling, let them sit at room temperature for about 10-15 minutes before serving to take the chill off without compromising the structure.
FAQs
Can I use regular peanut butter instead of chocolate peanut butter?
Absolutely! While chocolate peanut butter adds a nice depth of flavor and a hint of chocolatey sweetness, regular creamy peanut butter works perfectly well and keeps the flavor straightforward and classic.
What if I can’t find mini pie crusts?
No worries! You can use two medium-sized graham cracker pie crusts and fill them like a big pie. Slicing into smaller pieces after chilling works well if you’re serving a crowd.
Can this recipe be made vegan or dairy-free?
Since this recipe relies on cream cheese, whipped cream, and condensed milk, substitutions would require some experimentation with plant-based alternatives, such as cashew cream cheese and coconut whipped cream. Keep in mind texture and flavor might differ slightly.
Is it necessary to chill the pies before serving?
Chilling is very important as it helps the pie filling set and develop the creamy, firm texture that makes these pies so delightful. Skipping the chill time might result in a runnier filling that’s harder to serve.
Can I make the pies ahead for a party?
Yes! These mini peanut butter pies are excellent make-ahead desserts. Refrigerate them for a few hours or overnight, and they’ll be ready just in time for your gathering.
Final Thoughts
This Mini Peanut Butter Pies Recipe has truly become one of my favorite go-to desserts whenever I want to impress with something sweet yet simple. The combination of creamy, crunchy, sweet, and nutty flavors in the perfect bite-sized pies is simply irresistible. I encourage you to give this recipe a try for your next gathering or whenever you need a delicious treat that’s sure to satisfy your peanut butter cravings. Believe me, these will be your new dessert obsession!


