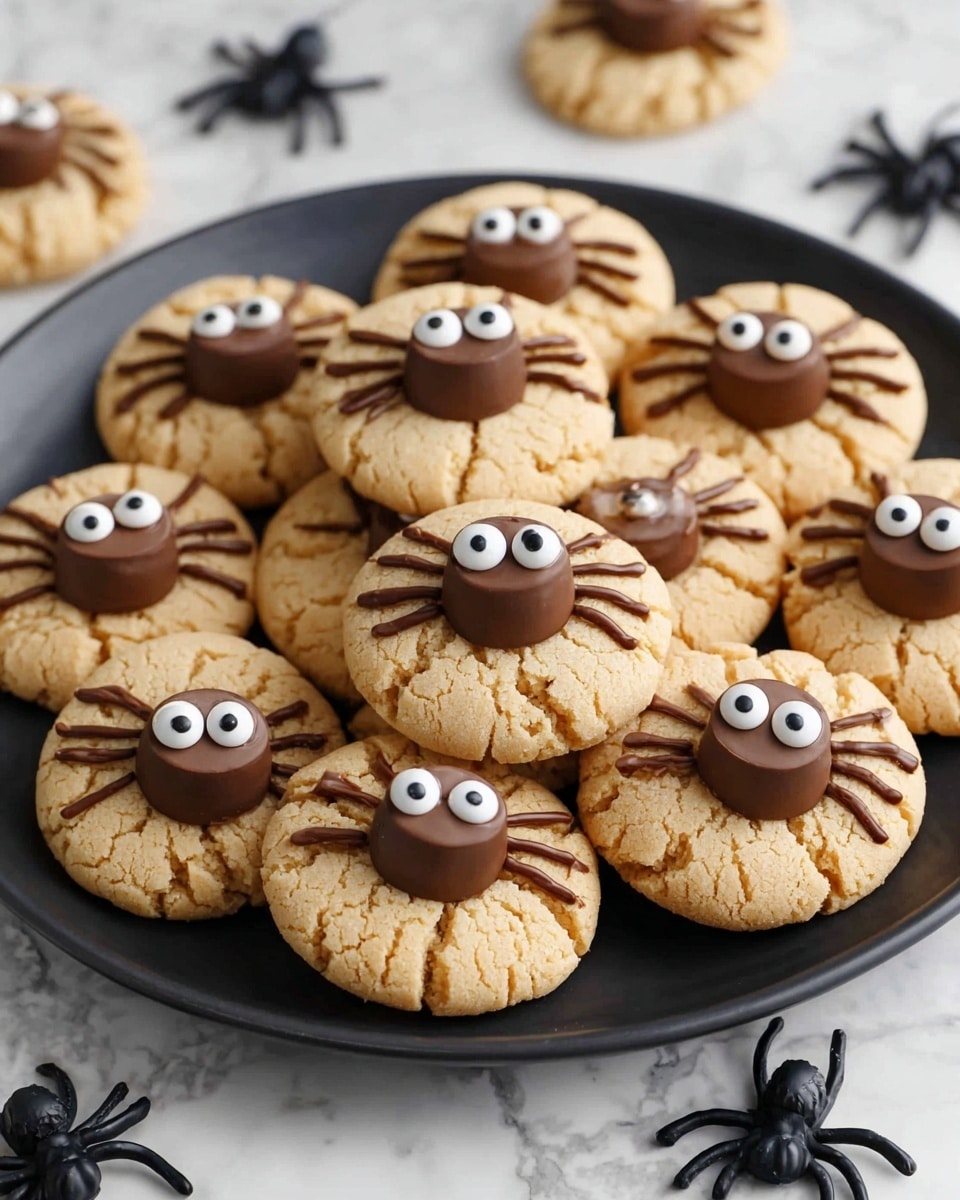
There is something utterly delightful and playful about this Spider Cookies Recipe that makes it a standout treat for any occasion, especially Halloween or a fun kids’ party. Imagine soft, peanut buttery cookies nestled beneath a mini Reese’s peanut butter cup “body,” complete with chocolate-piped spider legs and candy eyeballs giving it life. These cookies are not only adorable but also bursting with rich, comforting flavors that will have everyone reaching for seconds. Whether you’re an experienced baker or just want a fantastic, fuss-free sweet to impress, this Spider Cookies Recipe is guaranteed to become a cherished favorite in your collection.
Ingredients You’ll Need
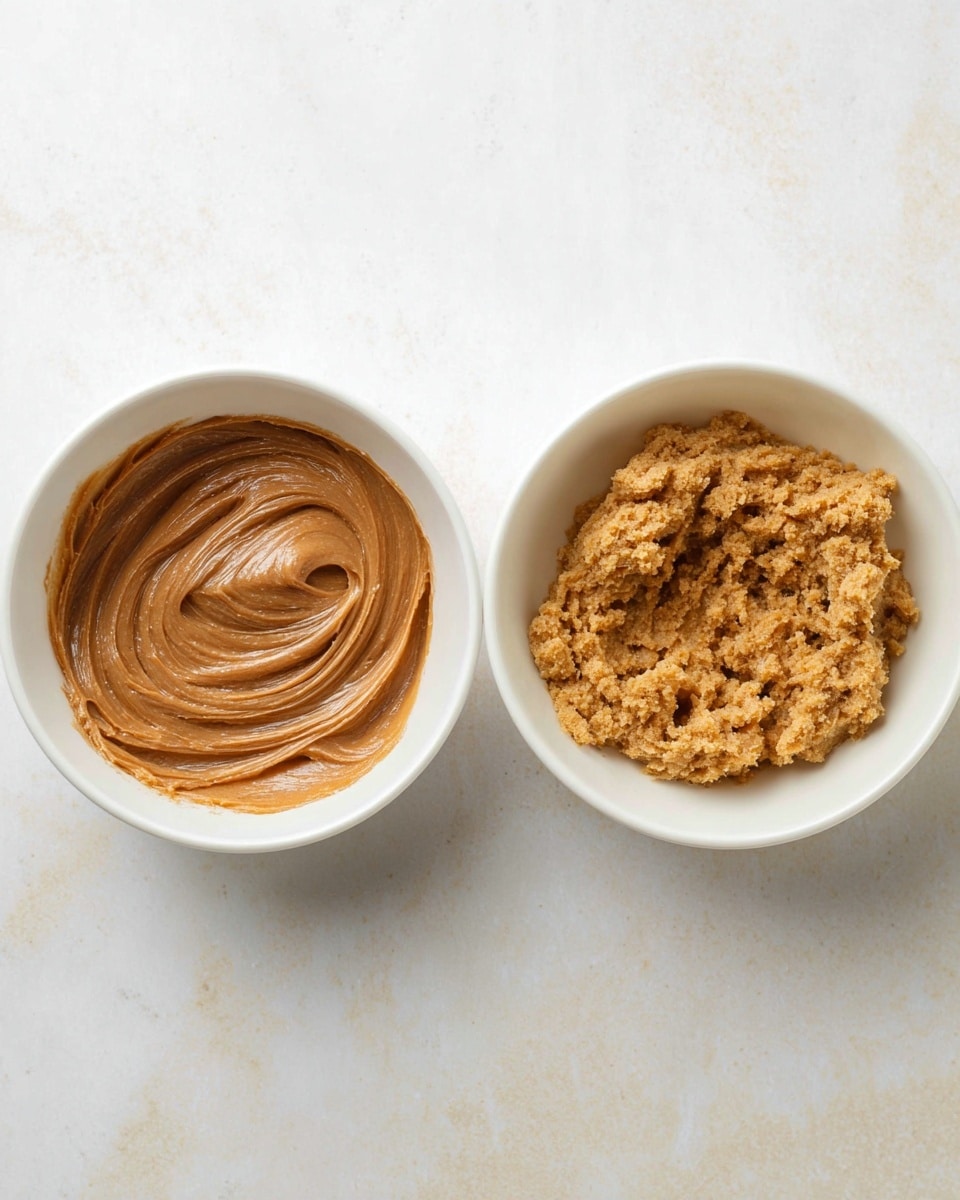
The magic of the Spider Cookies Recipe lies in its simple yet perfectly balanced ingredients. Each one plays a crucial role, whether it’s bringing creamy texture, soft crumb, or fun decorative flair.
- 1 cup creamy peanut butter: Use a no-stir variety like Jif or Skippy for smoothness and that rich, nutty flavor.
- 2 large eggs: These provide structure and moisture to keep the cookies soft.
- 1/2 cup vegetable or canola oil: Adds tender moistness without overpowering the peanut butter taste.
- 1 (15.25-ounce) box yellow cake mix: Offers sweetness and a light crumb; Duncan Hines works wonderfully here.
- 1/3 cup granulated sugar: For rolling the dough – adds a slight crunch and sparkle to the cookie surface.
- 28 miniature Reese’s peanut butter cups (unwrapped): The star “body” of each spider, combining chocolate and peanut butter in every bite.
- 1/3 cup semi-sweet chocolate chips: Melted for piping legs and securing candy eyeballs, bringing depth and decoration.
- 56 candy eyeballs: These playful accents give each spider cookie its character and a touch of whimsy.
How to Make Spider Cookies Recipe
Step 1: Prepare Your Baking Sheets and Oven
Start by heating your oven to 350 degrees Fahrenheit and line two baking sheets with parchment paper to prevent sticking and ensure easy cleanup. Setting the stage this way makes the baking process smoother and your cookies will come out perfectly shaped.
Step 2: Mix the Cookie Dough
In a large bowl, combine the creamy peanut butter, eggs, vegetable oil, and yellow cake mix. Stir everything together until a thick, uniform dough forms. This dough will feel rich and a bit dense—exactly what you want for these hearty, flavorful cookies.
Step 3: Scoop and Sugar Coat
Use a 2-tablespoon scoop to portion out the dough, then roll each scoop in the granulated sugar. This gives the cookies a beautiful sparkly coating and a slight textural contrast once baked. Space each sugared dough ball about 2 inches apart on the lined baking sheets to allow for slight spreading.
Step 4: Bake to Perfection
Pop the trays into your preheated oven and bake the cookies for 9 to 11 minutes. You will know they’re ready when the edges are set but the tops still look a little dry. This timing ensures a tender center that complements the crispy sides.
Step 5: Add Reese’s Peanut Butter Cups
As soon as the cookies come out of the oven, gently press one mini Reese’s peanut butter cup into the center of each warm cookie. This melding of the cookie and candy while both are warm creates a perfectly fused “body” for your spider.
Step 6: Cool Completely
Allow the cookies to cool fully on the baking sheet without moving them. This keeps the peanut butter cups securely embedded and lets the cookie reach the ideal texture for decorating.
Step 7: Melt Chocolate Chips
While the cookies cool, melt your semi-sweet chocolate chips gently—either in the microwave in short bursts or using a double boiler. Transfer the melted chocolate into a piping bag with a small round tip or into a zip-top bag with the corner snipped off for easy leg piping.
Step 8: Pipe Spider Legs
Pipe four delicate legs on each side of the Reese’s peanut butter cup, turning your cookie into a spider. Try to keep the legs evenly spaced and swooping for a realistic and fun effect.
Step 9: Attach Candy Eyeballs
Use a small dab of melted chocolate on the back of two candy eyeballs per cookie and carefully press them onto the top of each Reese’s. These eyes give your spider cookies character and that cute, slightly creepy vibe everyone loves.
Step 10: Let Chocolate Set
Finally, let the chocolate decorations set completely before moving or storing the cookies. This ensures your spider legs and eyes stay perfectly intact, ready to wow anyone who sees them.
How to Serve Spider Cookies Recipe
Garnishes
For an extra touch, dust your spider cookies lightly with powdered sugar or add tiny edible glitter to simulate “dewy webs.” You might also scatter a few mini chocolate chips or crushed peanuts on the tray for textural variety and visual interest.
Side Dishes
Spider cookies pair delightfully with simple vanilla or chocolate milk for kids and coffee or hot cocoa for adults. Fresh fruits like strawberries or orange slices can add a bright contrast to the rich peanut butter flavor, balancing the sweetness.
Creative Ways to Present
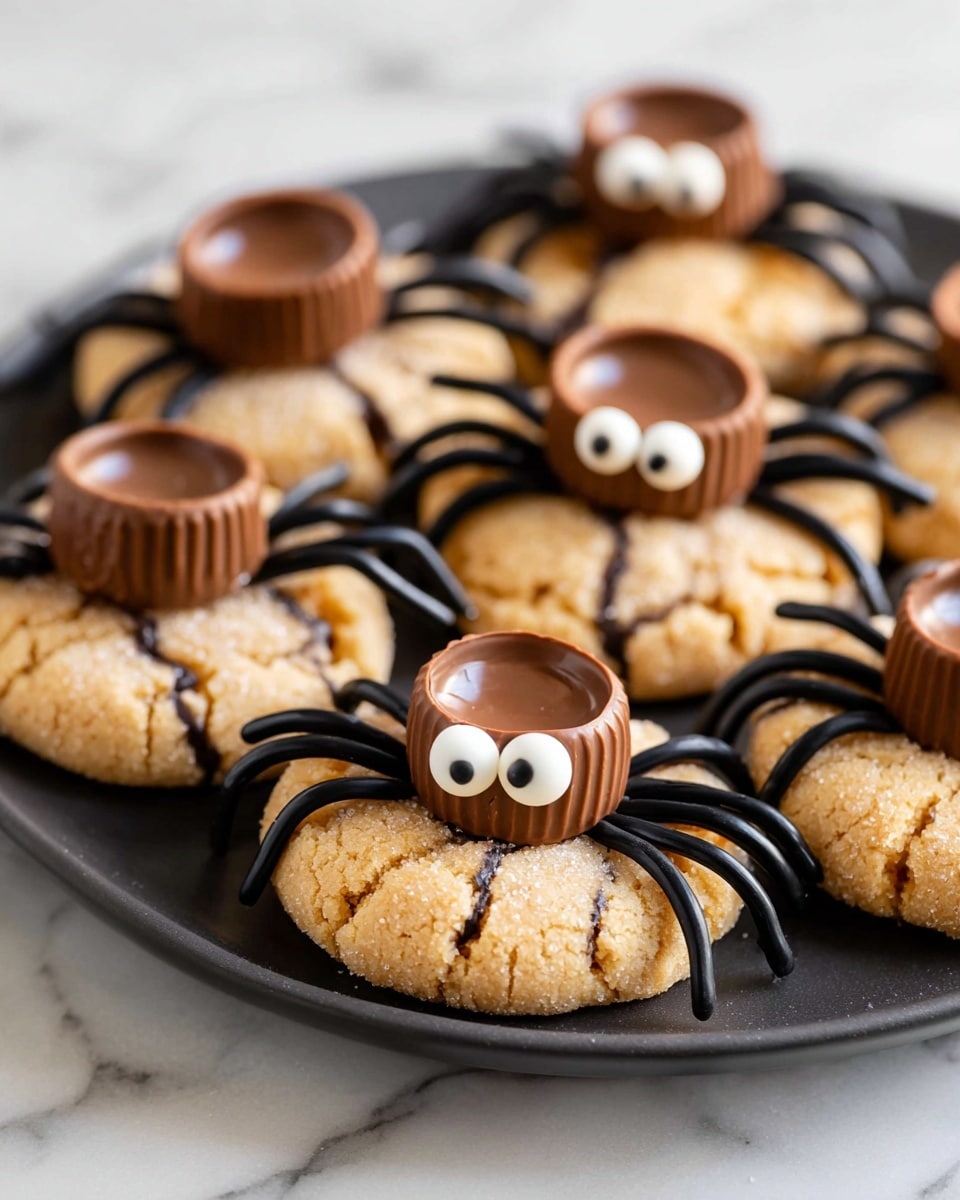
For party presentations, arrange the spider cookies on parchment paper “webs” or a black serving plate to highlight their spooky charm. You can also place some on cupcake stands or nestled among pumpkin decorations for an irresistible themed display.
Make Ahead and Storage
Storing Leftovers
Keep your spider cookies fresh by storing them in an airtight container at room temperature. They stay delicious for up to 4 days, making them perfect for prepping in advance of events.
Freezing
If you want to enjoy these festive treats later, freeze the cookies unadorned before adding the legs and eyeballs. Wrap tightly in plastic wrap and place in an airtight bag or container for up to 3 months. When ready, thaw completely before decorating.
Reheating
For a freshly baked feel, warm your spider cookies in a low oven or microwave for just a few seconds. Avoid overheating so the peanut butter cups don’t melt too much and the chocolate decorations remain intact.
FAQs
Can I substitute the peanut butter in this Spider Cookies Recipe?
Absolutely! If you or your guests have allergies or preferences, you can try almond butter or sunflower seed butter. Keep in mind the texture and flavor will vary slightly, but the cookies will still be delicious.
What if I don’t have candy eyeballs?
No worries. You can substitute mini chocolate chips or even small white candies with a dot of melted chocolate for pupils. Get creative to maintain the fun spider look!
Can I make the dough ahead of time?
Yes, you can mix the dough and keep it refrigerated for up to 24 hours before baking. Just bring it to room temperature before scooping and rolling in sugar for best results.
Is there a way to make these cookies gluten-free?
To make this Spider Cookies Recipe gluten-free, swap the yellow cake mix for a gluten-free cake mix that matches the same weight. Confirm all other ingredients are gluten-free to keep everyone safe.
How do I prevent the chocolate spider legs from smudging?
Make sure your cookies are completely cool before piping the legs. Also, let the chocolate set in a cool, dry place—refrigeration can help but be sure the chocolate is fully hardened before handling.
Final Thoughts
This Spider Cookies Recipe is such a joy to make and share, blending nostalgic peanut butter flavors with whimsical, spooky charm. Whether it’s a frightfully fun treat for your Halloween festivities or just a novel way to brighten up cookie time, these spiders will never fail to bring smiles. I really encourage you to try making these—you’ll have as much fun decorating them as you do eating them!
Print
Spider Cookies Recipe
- Total Time: 30 minutes
- Yield: 28 cookies
Description
These fun and festive Spider Cookies are a perfect Halloween treat! Made with creamy peanut butter, yellow cake mix, and miniature Reese’s peanut butter cups, these cookies are topped with chocolate legs and candy eyeballs to create adorable spider designs. Easy to make and irresistibly delicious, they are sure to delight kids and adults alike.
Ingredients
Cookie Dough
- 1 cup creamy peanut butter (no-stir variety like Jif or Skippy)
- 2 large eggs
- 1/2 cup vegetable or canola oil
- 1 (15.25-ounce) box yellow cake mix (Duncan Hines recommended)
- 1/3 cup granulated sugar
Toppings
- 28 miniature Reese’s peanut butter cups (unwrapped)
- 1/3 cup semi-sweet chocolate chips
- 56 candy eyeballs
Instructions
- Preheat oven: Preheat your oven to 350°F (175°C) and line two baking sheets with parchment paper to prevent sticking.
- Mix dough: In a large bowl, stir together the peanut butter, eggs, vegetable oil, and yellow cake mix until a thick dough forms evenly.
- Form cookie balls: Using a 2-tablespoon scoop, portion out the dough, then roll each ball in granulated sugar for a sparkly coating. Place the dough balls about 2 inches apart on the prepared baking sheets.
- Bake cookies: Bake the cookies in the preheated oven for 9 to 11 minutes, or until the edges are set and the tops appear dry but not browned.
- Add Reese’s centers: Immediately after removing the cookies from the oven, press one miniature Reese’s peanut butter cup into the center of each cookie while still warm.
- Cool cookies: Let the cookies cool completely on the baking sheets to allow them to set without disturbing their shape.
- Melt chocolate: Melt the semi-sweet chocolate chips gently, either in a microwave or over a double boiler. Transfer the melted chocolate to a piping bag fitted with a small round tip or use a zip-top bag with a small corner cut off for piping.
- Pipe spider legs: Pipe four spider legs on each side of the Reese’s peanut butter cup on every cookie, creating a spooky spider effect.
- Add candy eyeballs: Dab a small amount of melted chocolate on the back of each candy eyeball and press two onto the top of each Reese’s to create spider eyes.
- Set and store: Allow the chocolate to set completely before storing the cookies in an airtight container to maintain freshness.
Notes
- For best results, use no-stir creamy peanut butter to make mixing easier.
- You can substitute yellow cake mix with white cake mix for a slightly different flavor.
- If candy eyeballs are unavailable, small white and black frosting dots can be used as eyes instead.
- Store cookies in an airtight container at room temperature for up to 5 days.
- Use caution when melting chocolate to avoid overheating and seizing.
- These cookies freeze well; thaw at room temperature before decorating if desired.
- Prep Time: 10 minutes
- Cook Time: 10 minutes
- Category: Dessert
- Method: Baking
- Cuisine: American


